
|
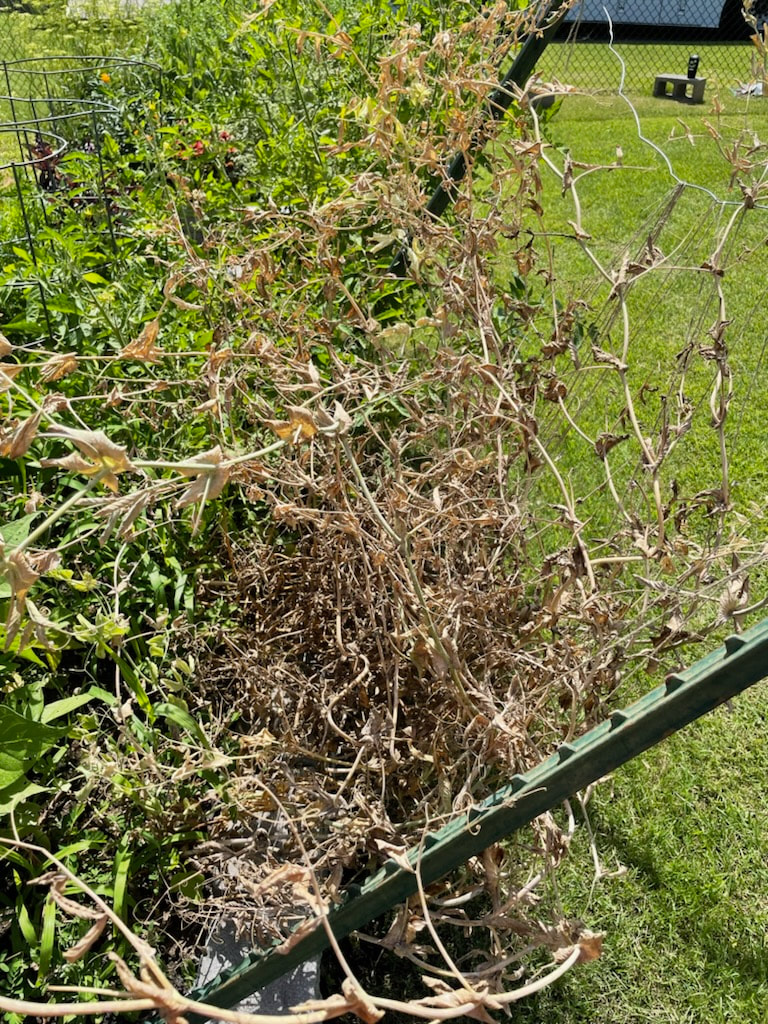
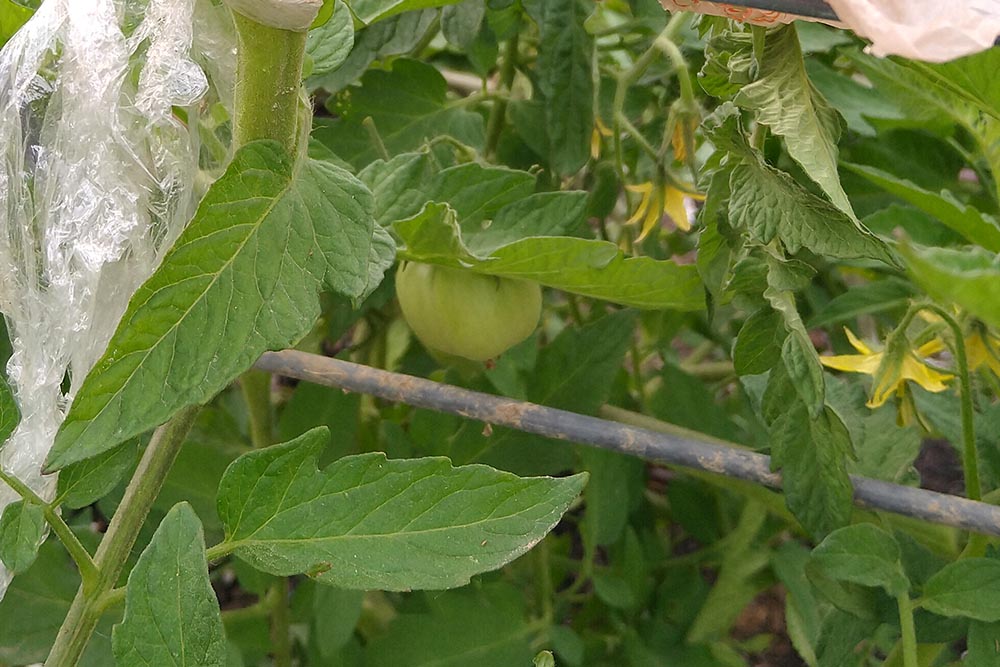
There is so much to update that I decided to do a video so I can talk about every plant. Tomato Leaf Removal As I pointed out in the video there are some blighted leaves on the lower part of the tomato plants. This is normal for this time of year in the Mid-South. Blight is a fungus that is in the soil and it gets on the lower leaves when they are in contact with the soil or the fungus gets splashed on to the leaves from rain or overhead watering. The fungus then works its way up the plant. One of the ways to control blight is to remove all the diseased leaves from the plant. I took off all the diseased leaves and also a few more that were on or close to the ground. It opens up the bottom of the plant and makes it easier to see what is going on. Taking off some of the lower leaves does not harm the plant. Research I have read says the energy for growing the fruit comes from the higher leaves and it encourages the plant to grow more. I also sprayed with the fungicide Chlorothalonil.
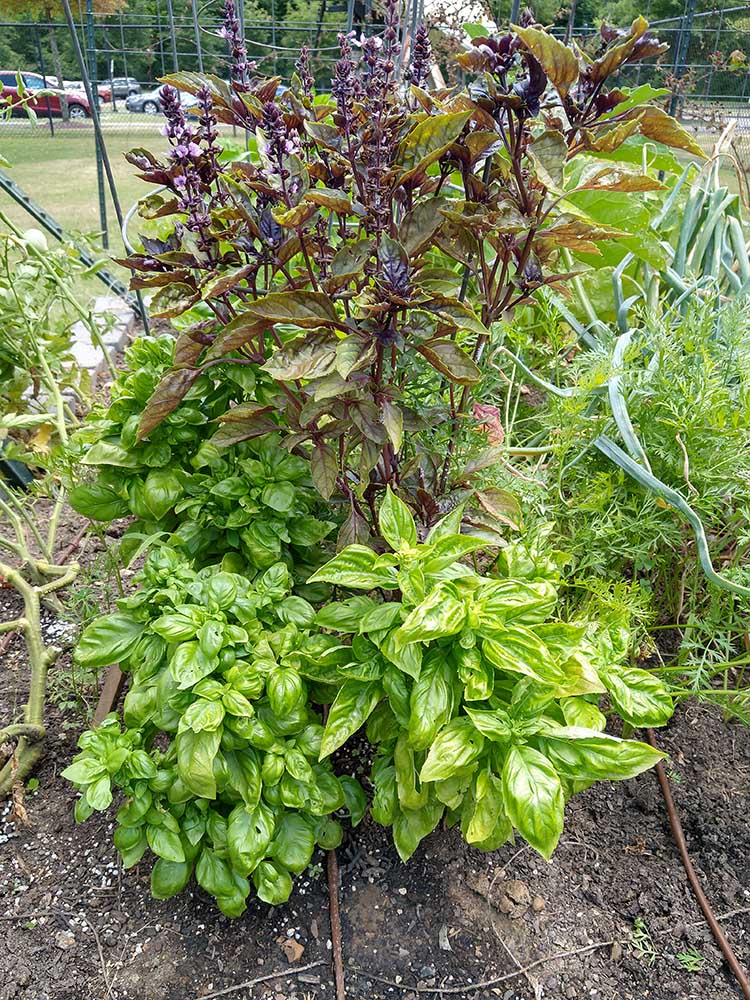
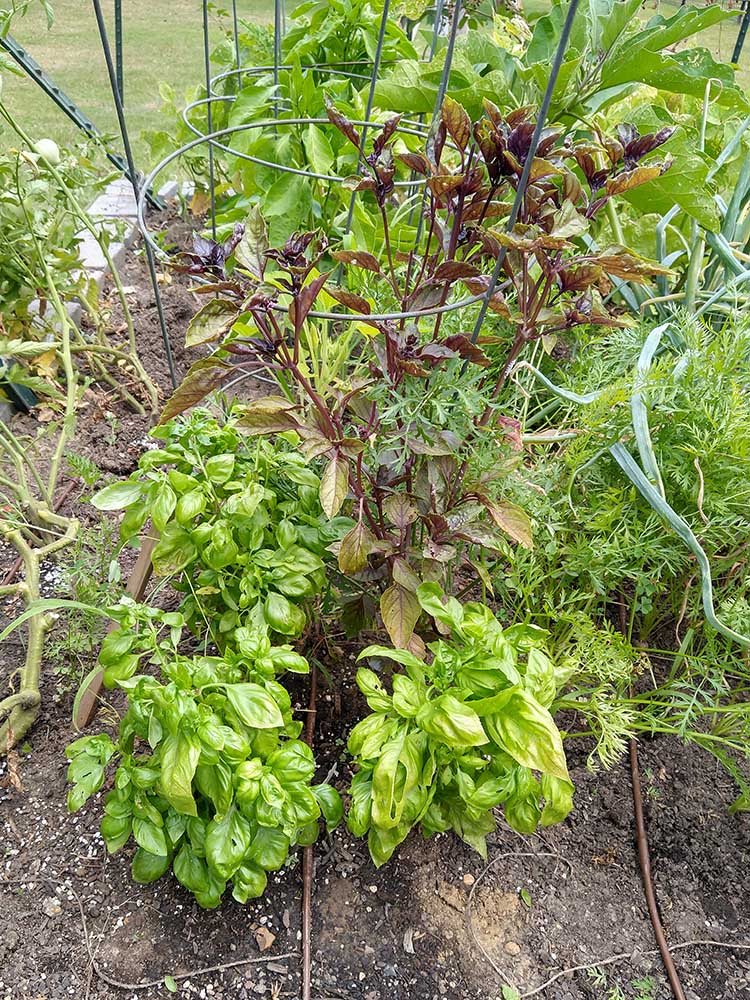
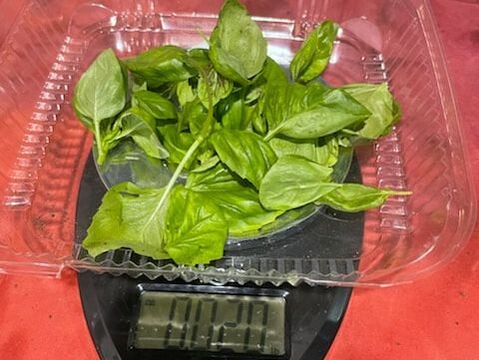
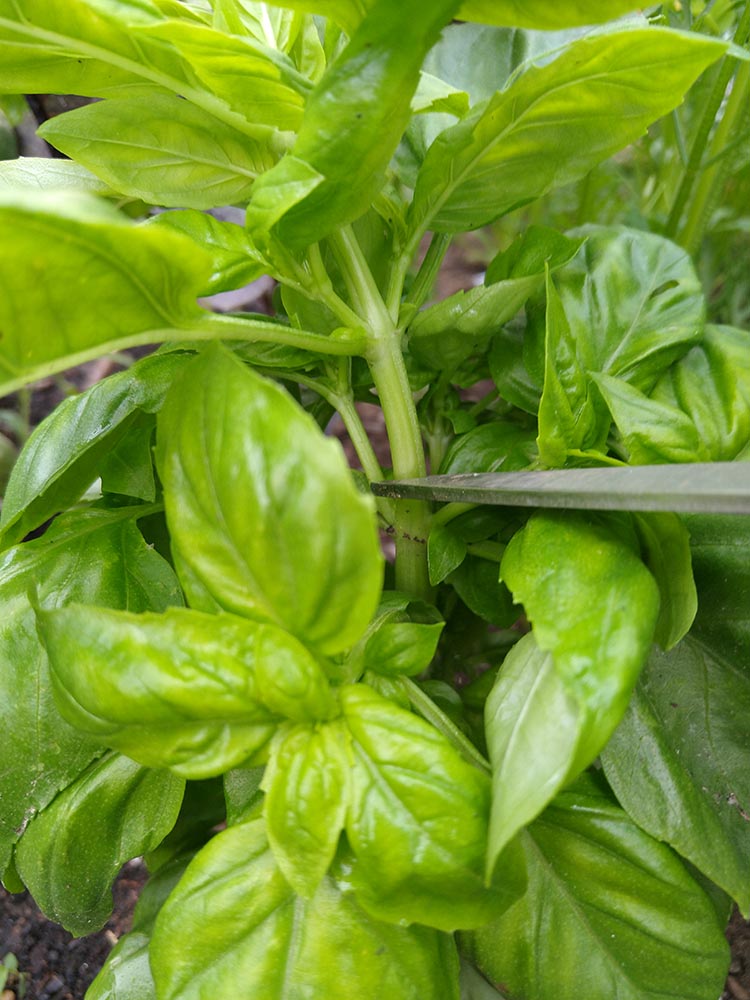
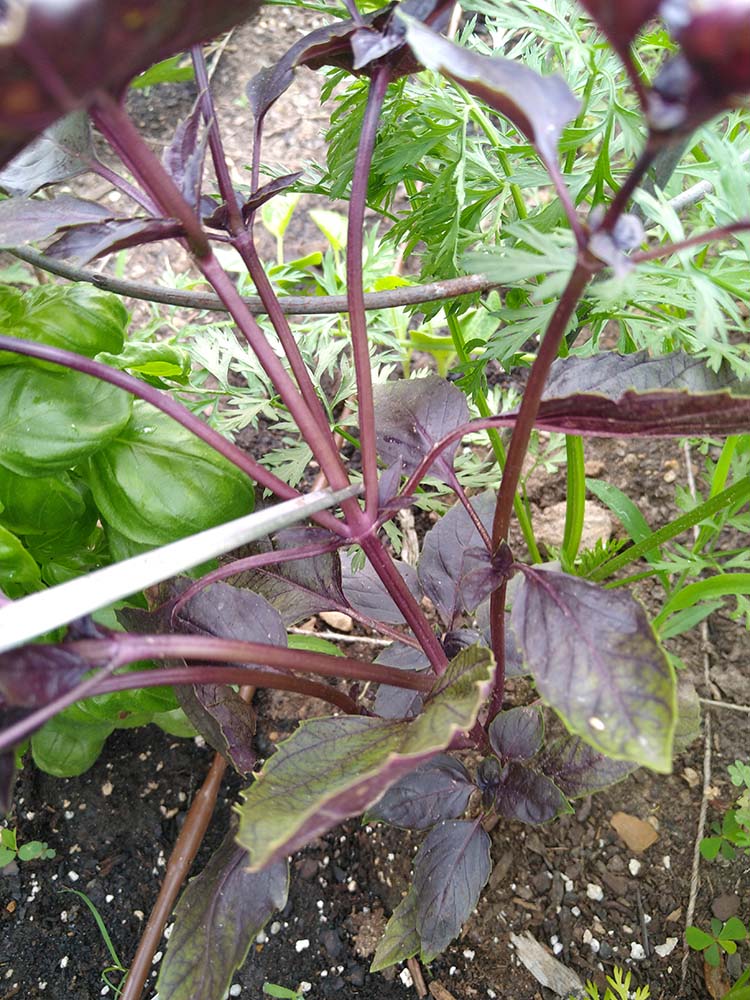
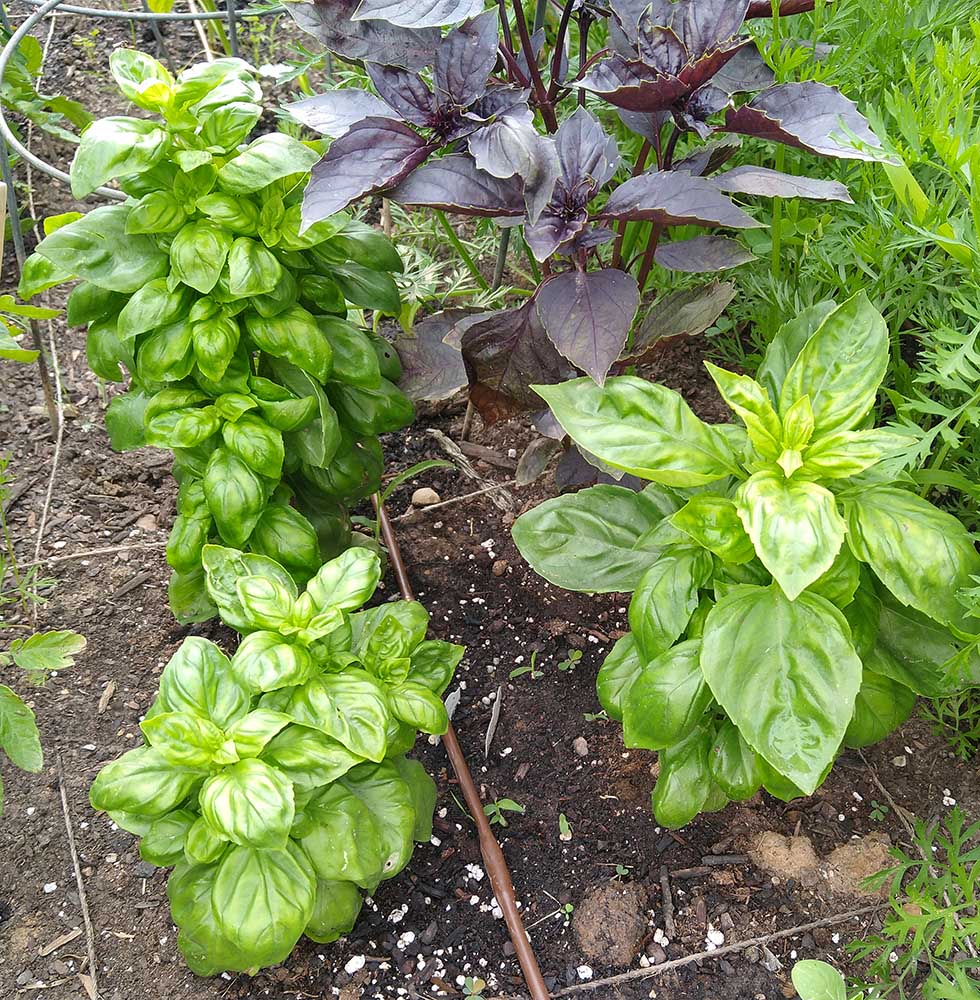
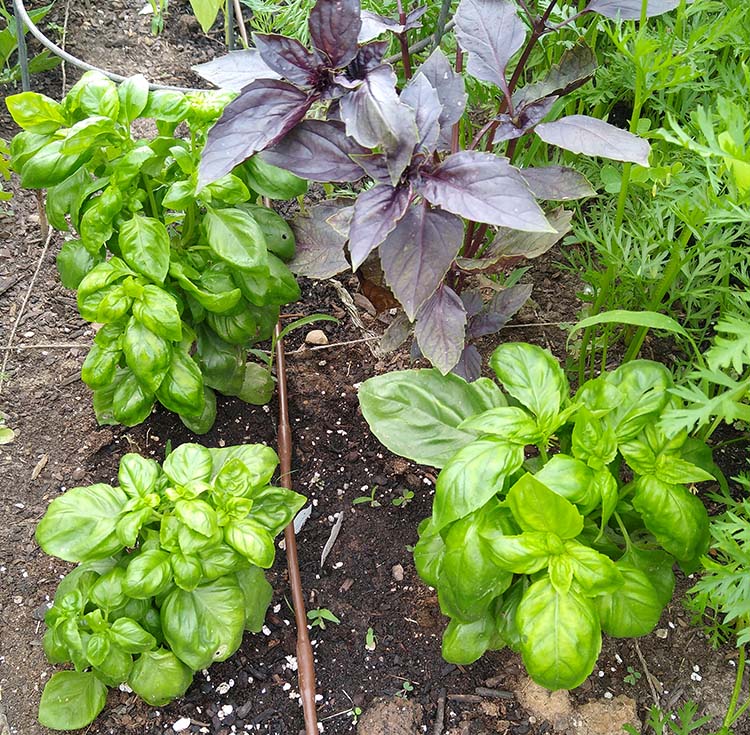
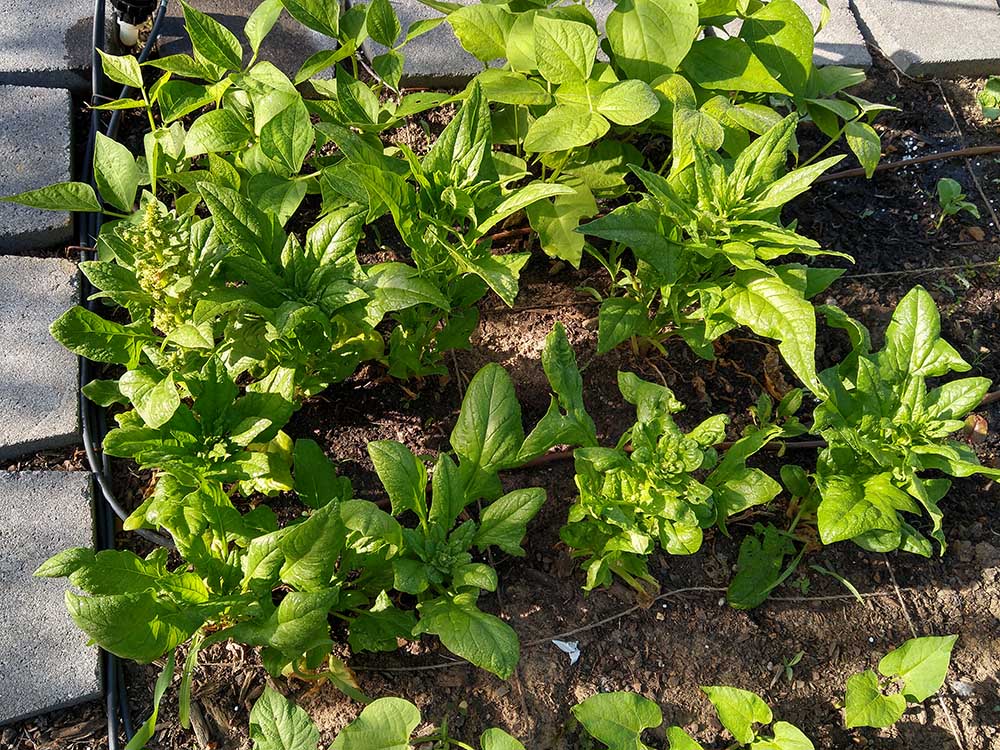
Basil I trimmed back the basil. It was getting to the point where the plants were growing together. I wanted to harvest it while pruning it to encourage future growth. I talked about the method in an earlier blog post here. It felt like I was taking a lot off the plants, but they will bounce back. I also made sure I cut all the blooms off the purple basil.
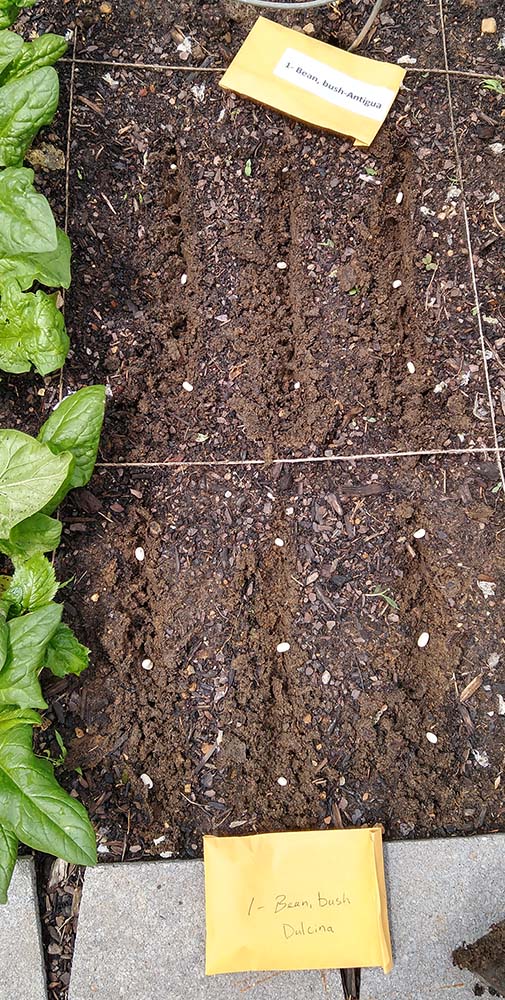
Replanting Cucumbers
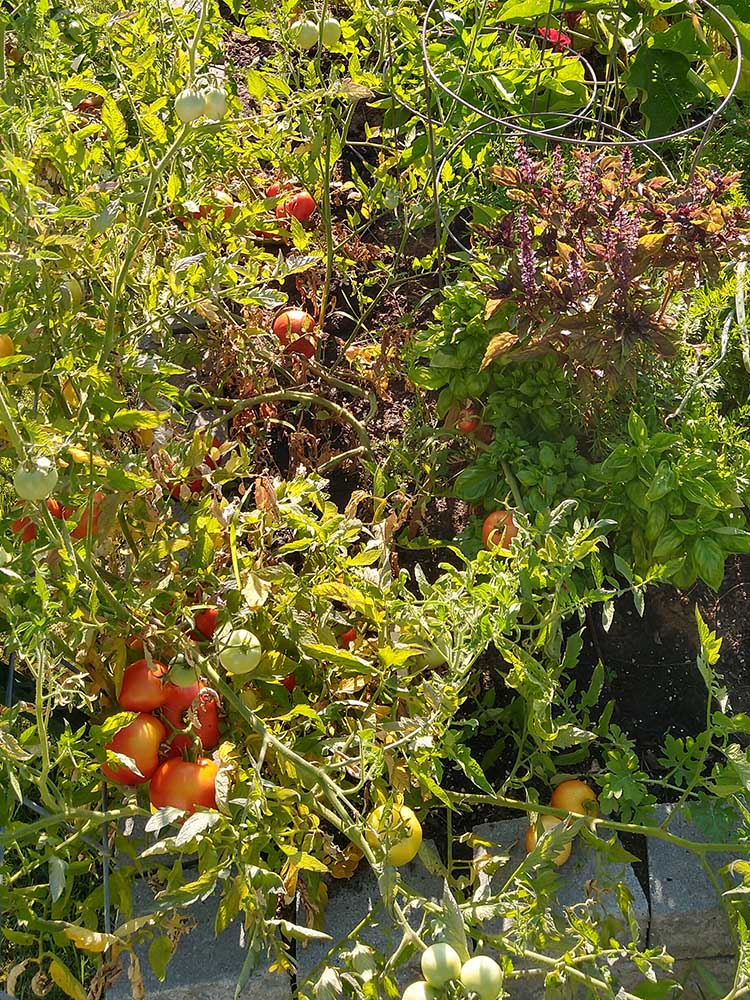
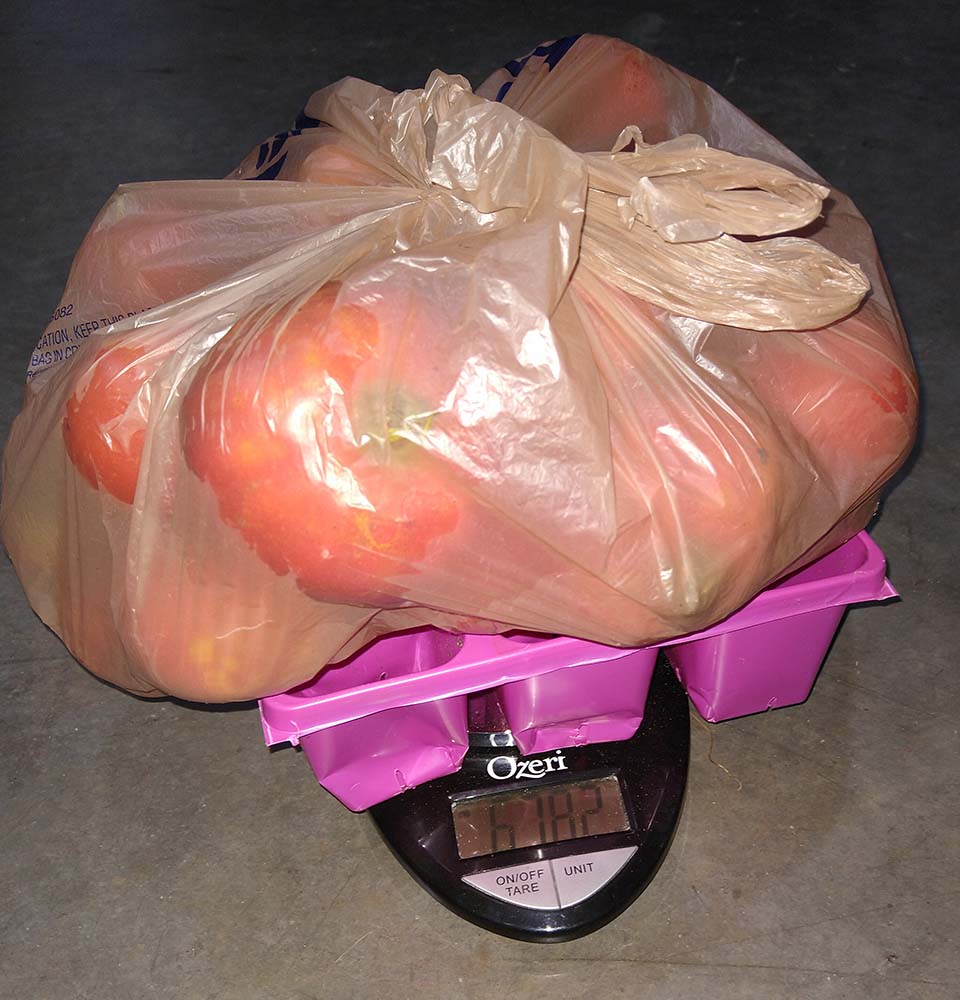
The Harvest
0 Comments
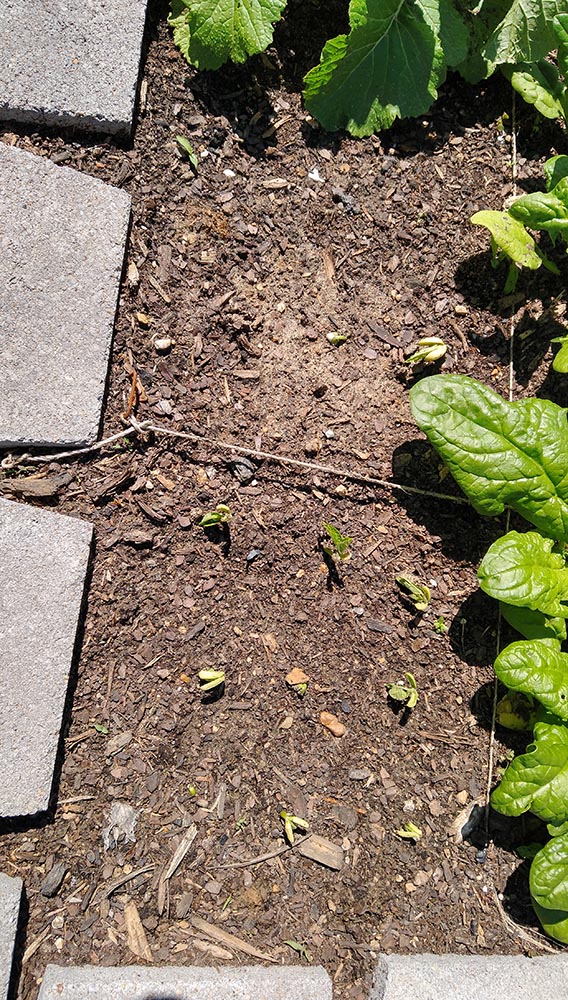
Planting Cucumbers
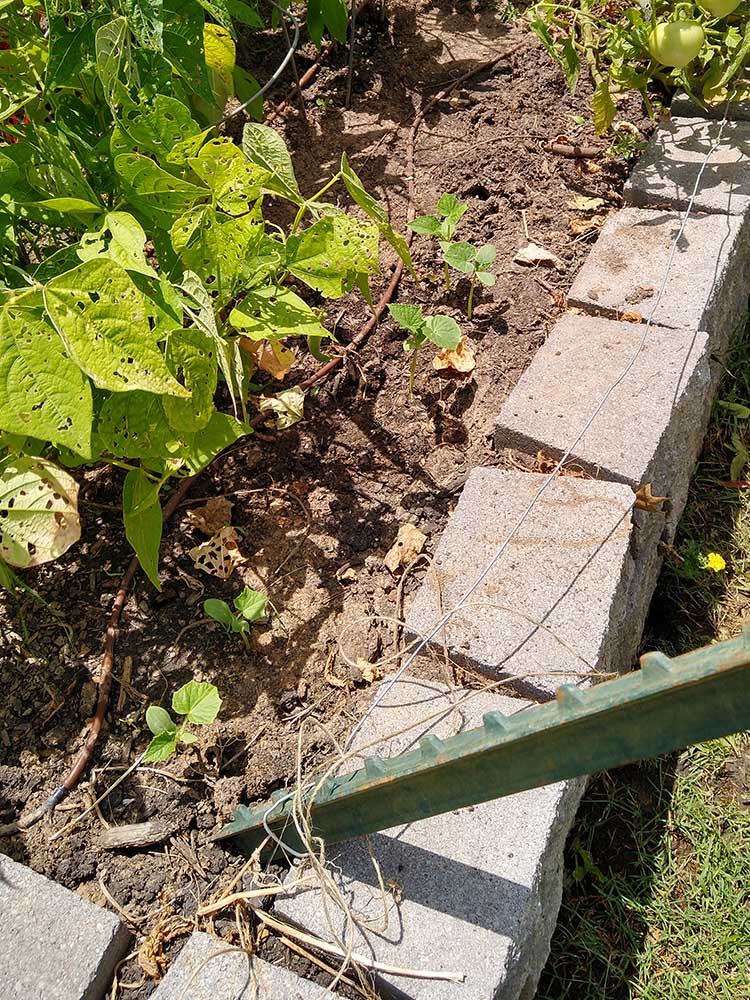
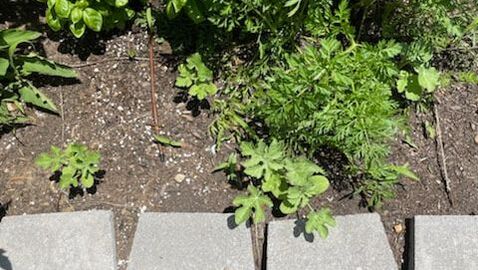
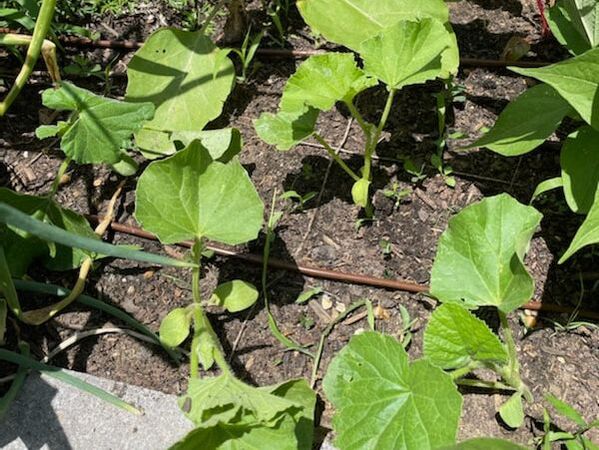
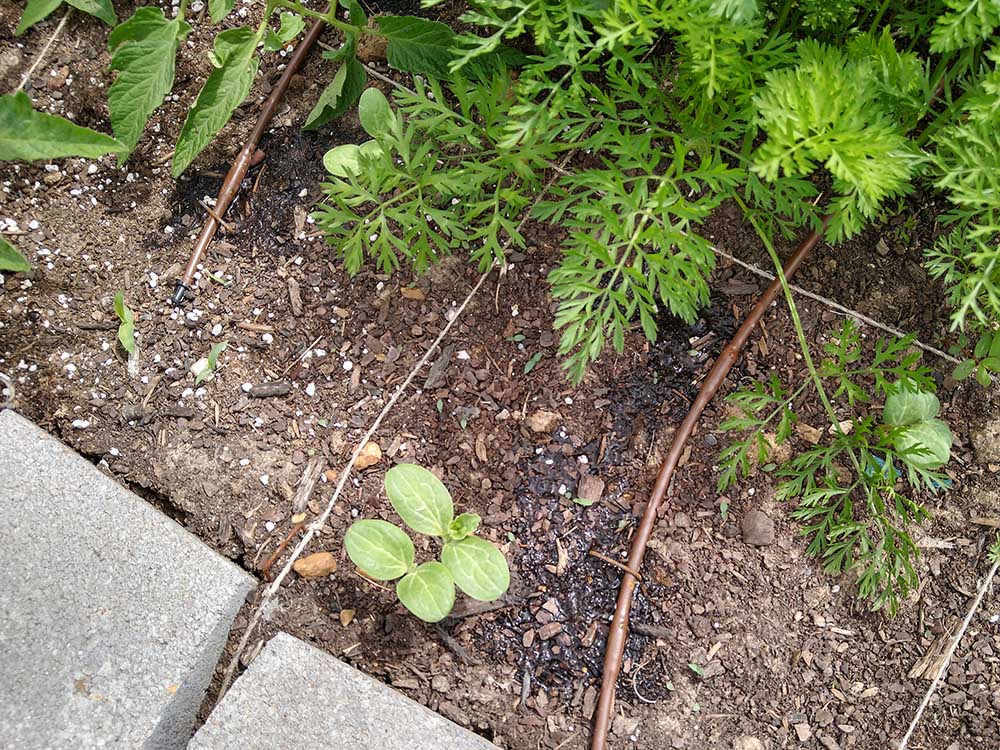
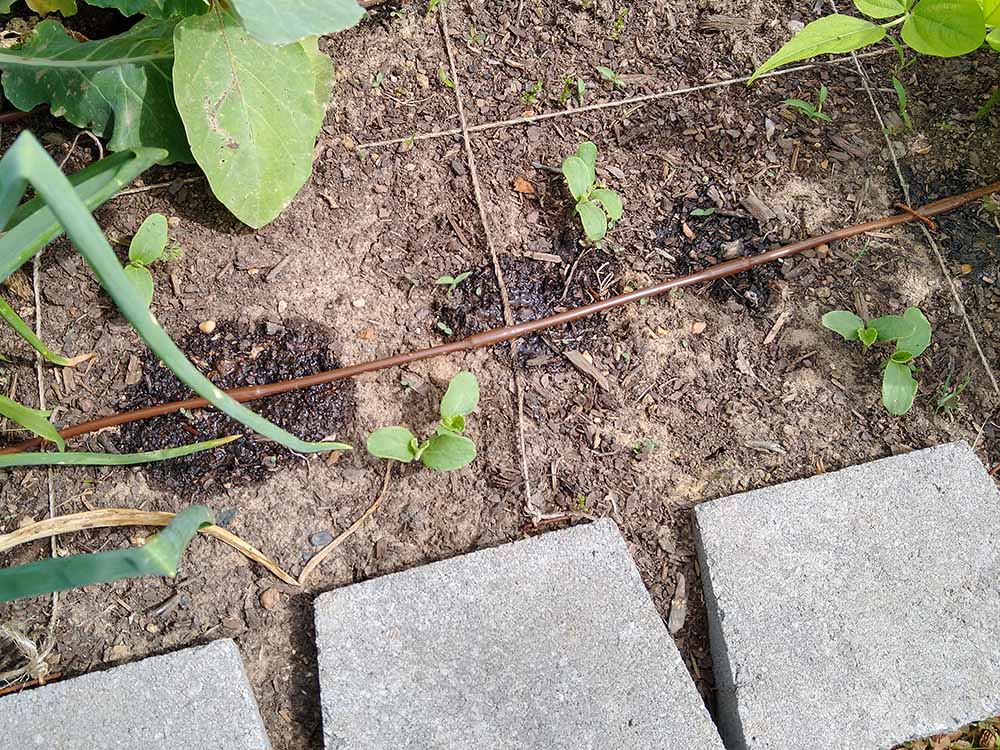
It is time to thin the watermelon, cantaloupe, and summer squash. We double-planted them in case some of them did not come up. Most did, but there were a few spots where one did not come up. The two seeds in each location were planted very close together so it is not possible to pull one plant and not damage the roots of the other. So, we used the scissors again to thin. When thinning you want to make sure the plants are developed enough to tell which ones are the healthiest and look the best. Then we just carefully snip off the stem of the other one. Unfortunately, you can't leave both because they will compete for nutrients in the soil and neither plant will do as well.
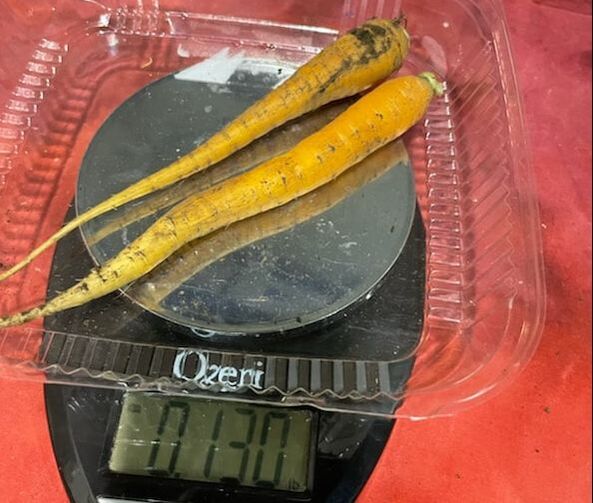
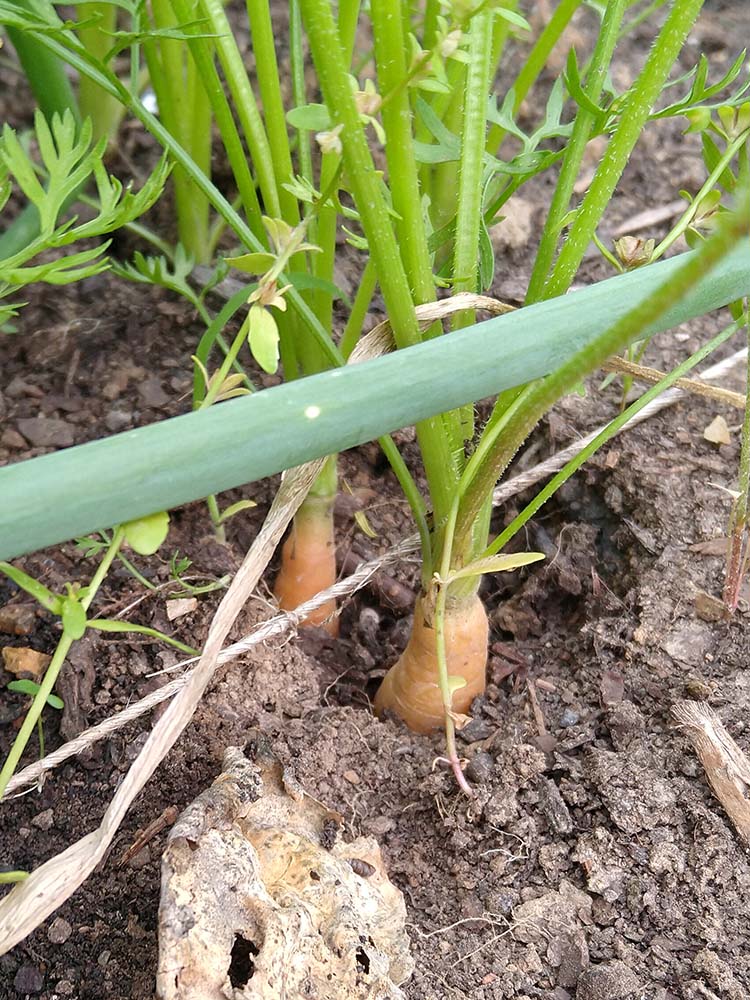
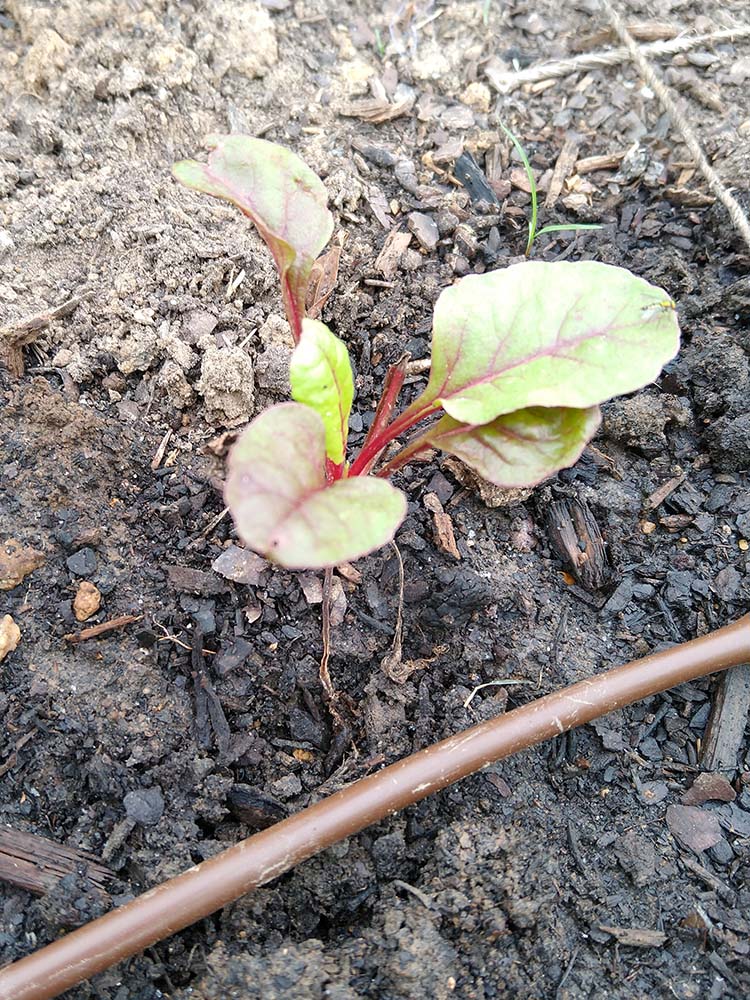
First Carrots
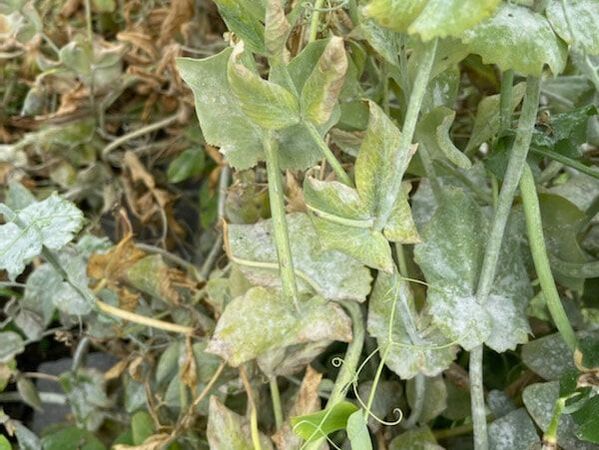
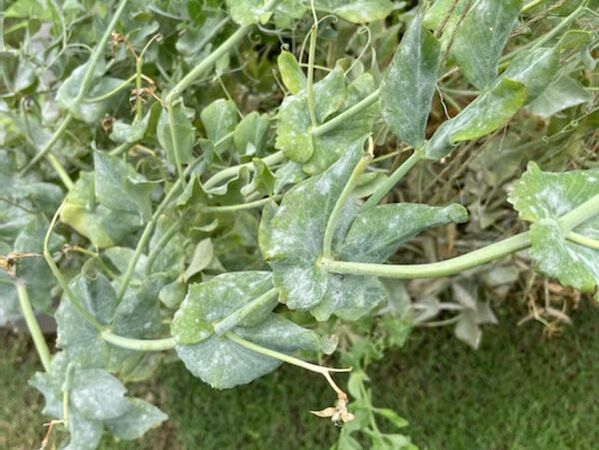
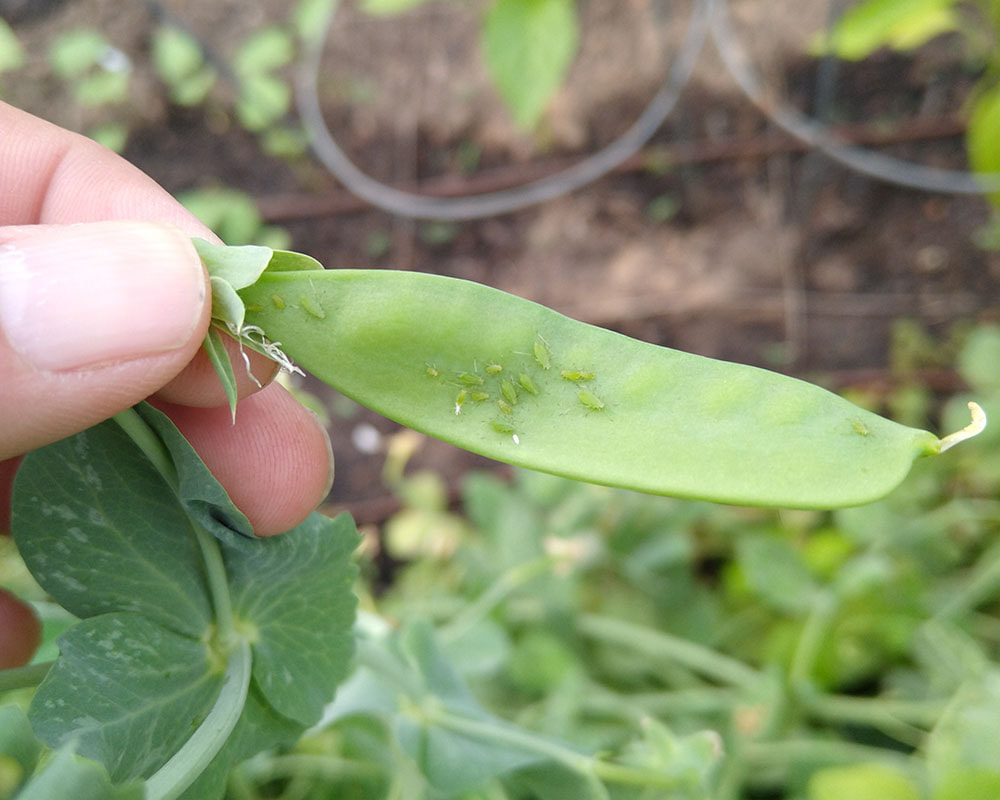
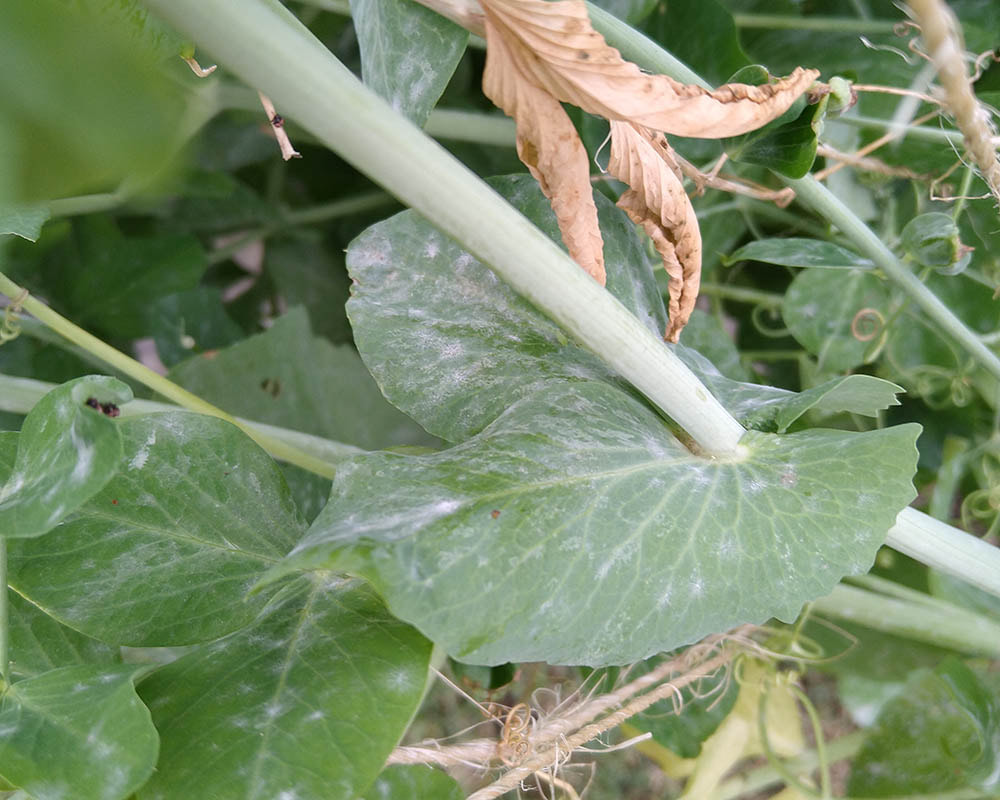
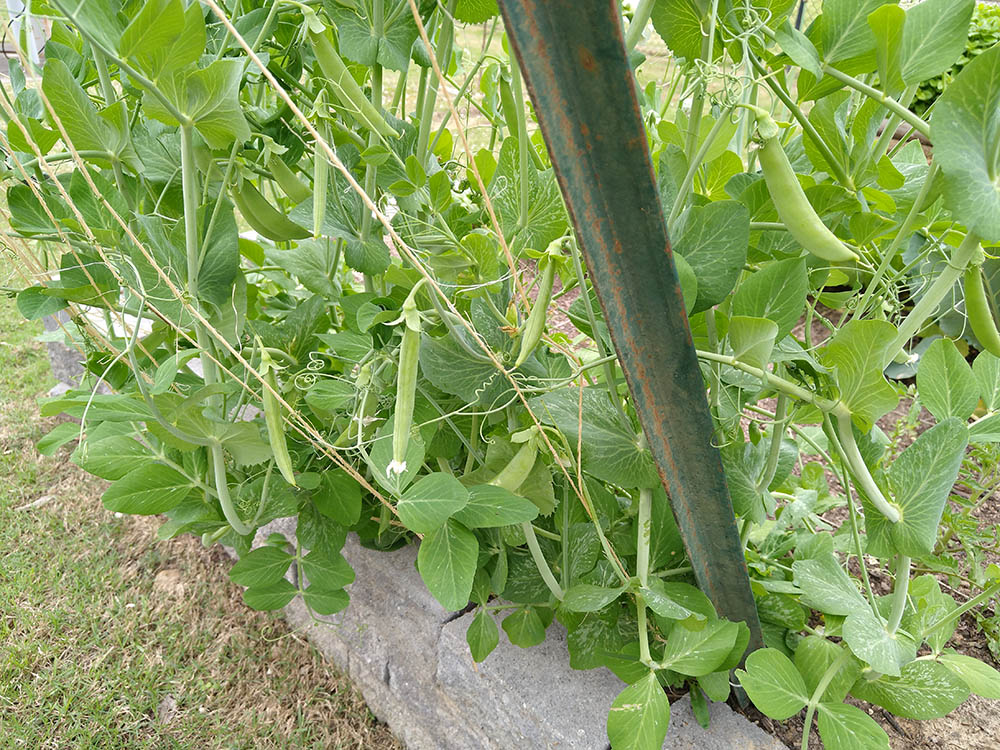
PeasThe powdery mildew on the peas is getting worse, but we are still not going to do anything about it. They only have a little while to go and are starting to slow down. In a week or so we will probably pull them out and plant the cucumbers.
Basil Harvest
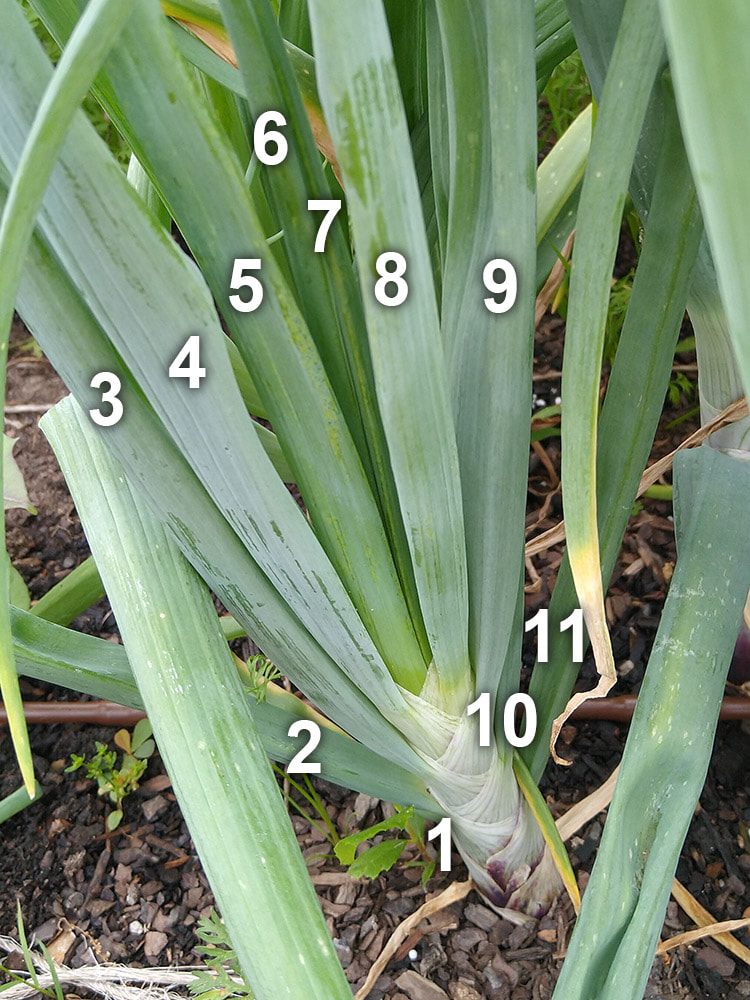
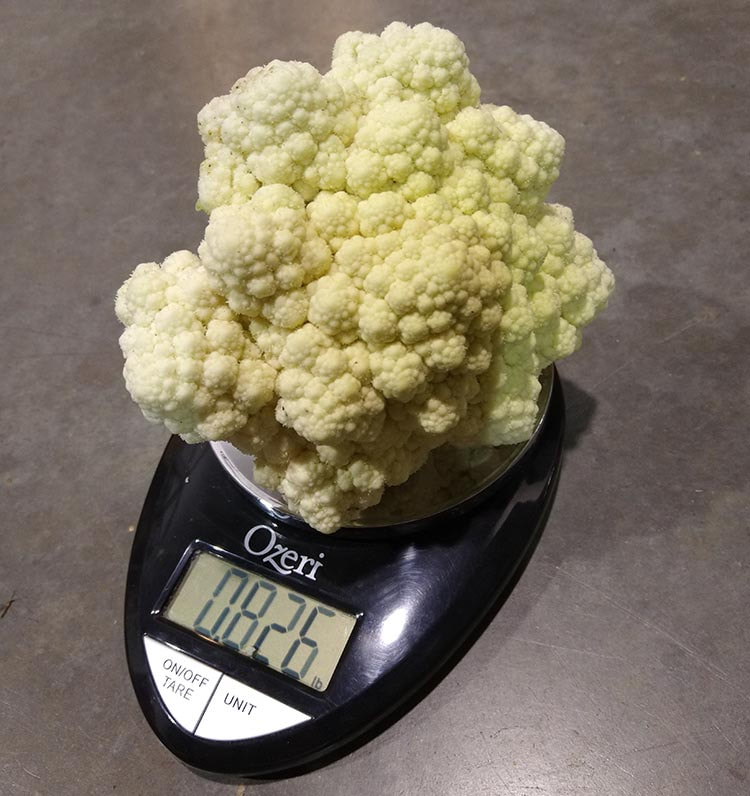
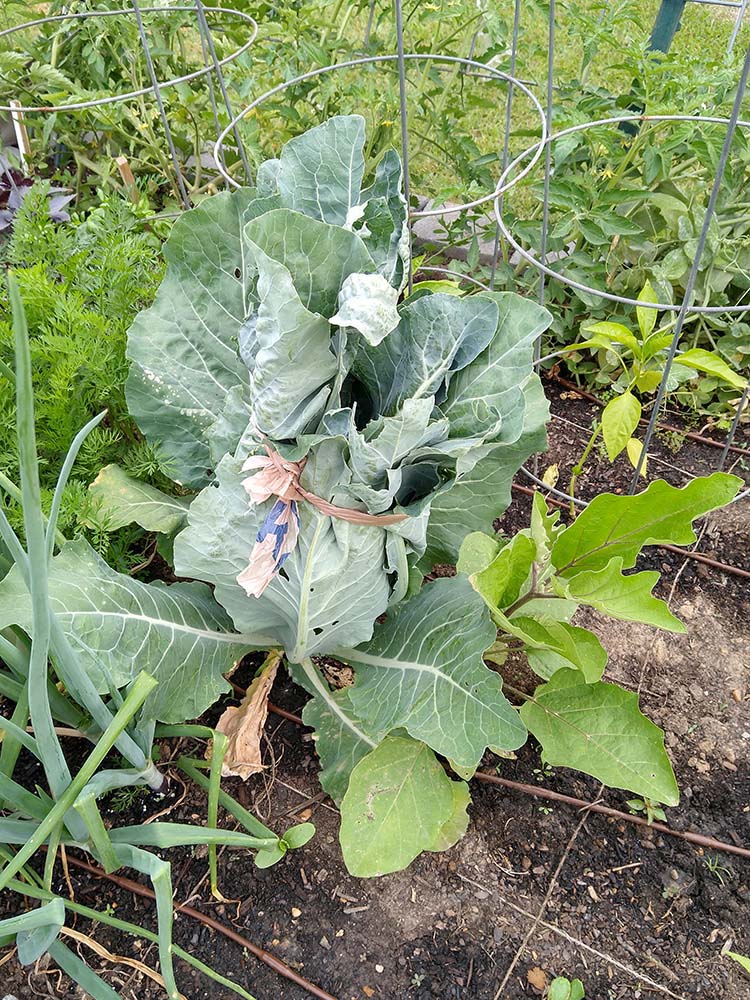
I also fertilized the onions with nitrogen. I would have done it much earlier, but I realized that the nitrogen I added a few months ago also caused the cauliflower to grow quite a bit. With too much nitrogen fertilizer cauliflower will not head. So, I held off fertilizing again until the cauliflower was picked. Now that is is gone I put about a little more than a tablespoon of fertilizer per square on the onions. Note to the future: Don't plant onions next to cauliflower in a square foot bed. 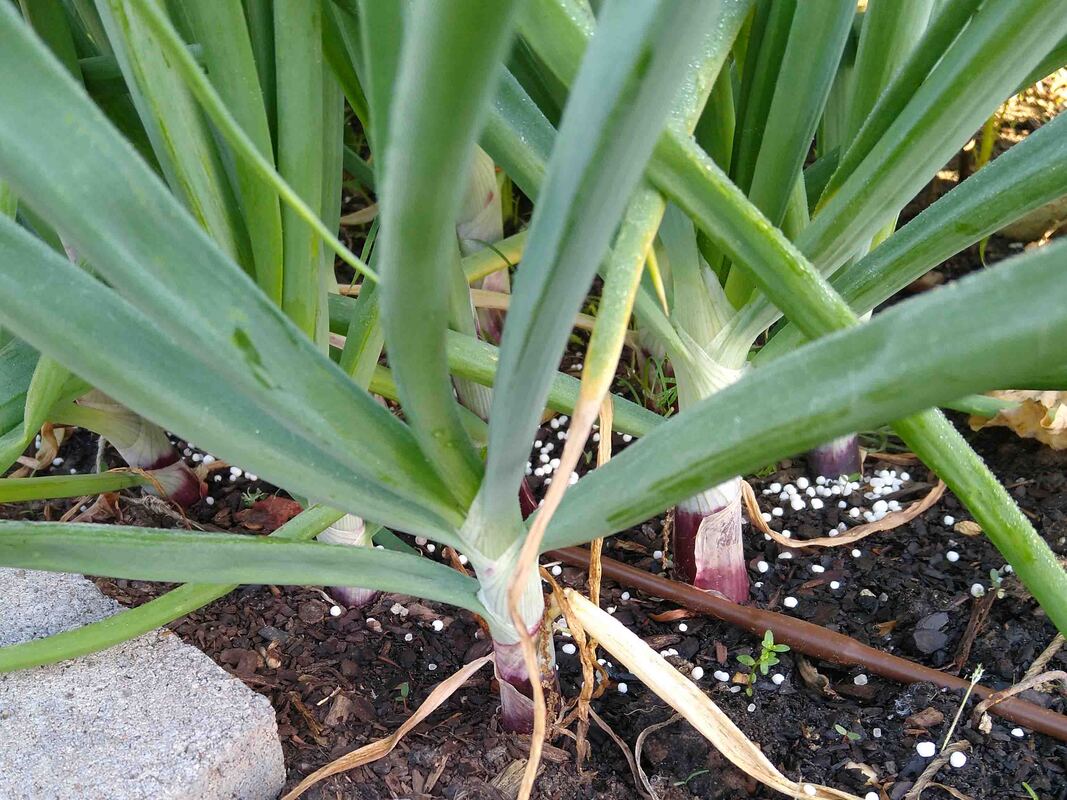
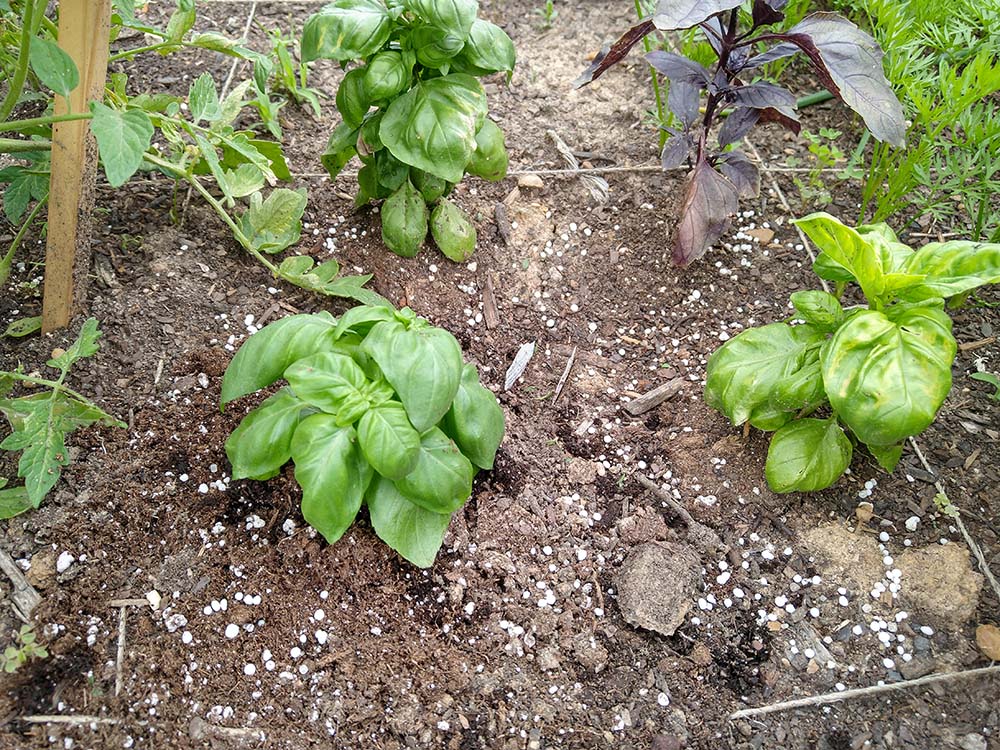
The basil has been growing now for about a month and so I pruned it. The purpose of this was not for harvest, although it will be used for that. The main reason is to get the plants to bush out. Right now they are primarily one stalk growing straight up. They are pruned just like any other shrub, just above a node. By pruning them just above a leaf they will form two branches from that point. More branches means more leaves which means more harvest. Joellen shows how to prune basil in this video from a few years ago.
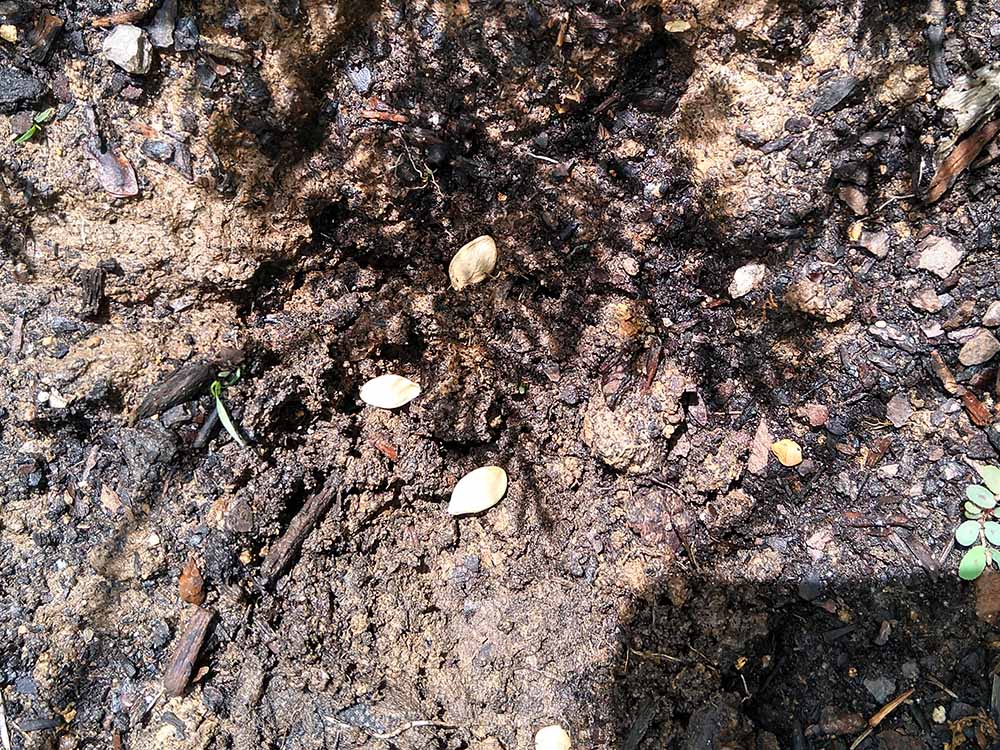
Natalie Bumgarner planted watermelon, cantaloupe and yellow squash when she was here about two weeks ago. They are all up and have a high germination rate. Of all the seeds only one of the cantaloupe did not come up. Because we double planted all of them, that won't be a problem.
The peas are still going strong. We are getting about a pound a week from them. I am starting to see some problems however. Today there were aphids on the peas and there is also some powdery mildew. I think the peas are almost done so I am not going to do anything about it for now. If the aphids get too much worse I might spray with insecticidal soap. Hopefully the ladybugs will move in and take care of the problem for me.
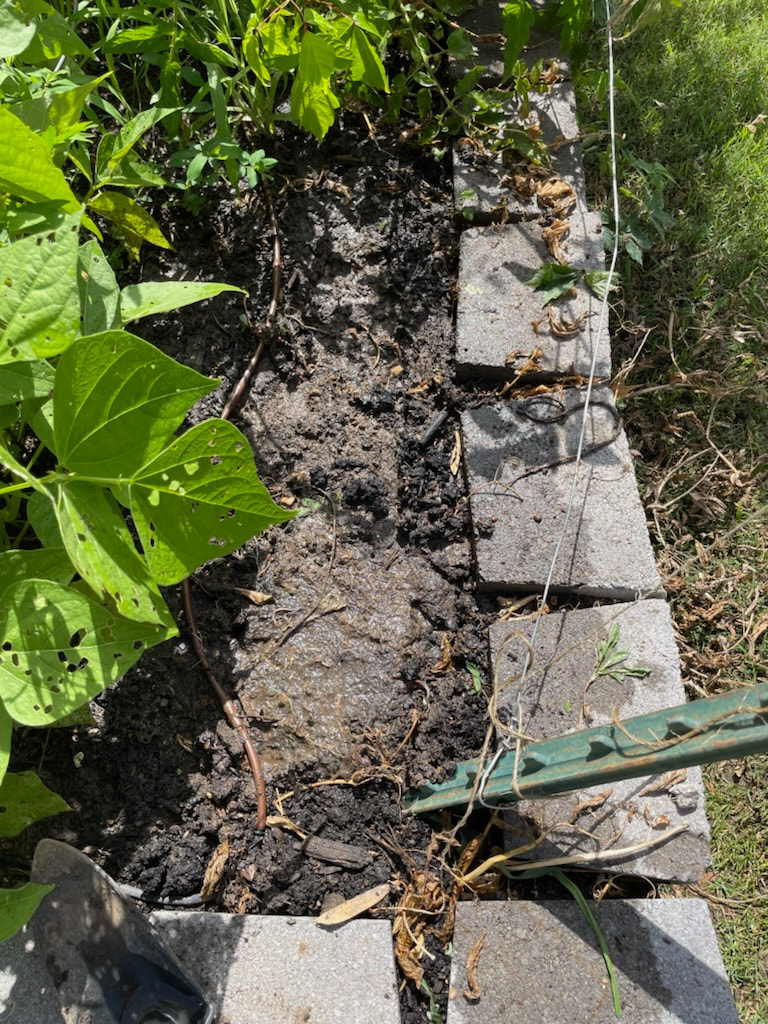
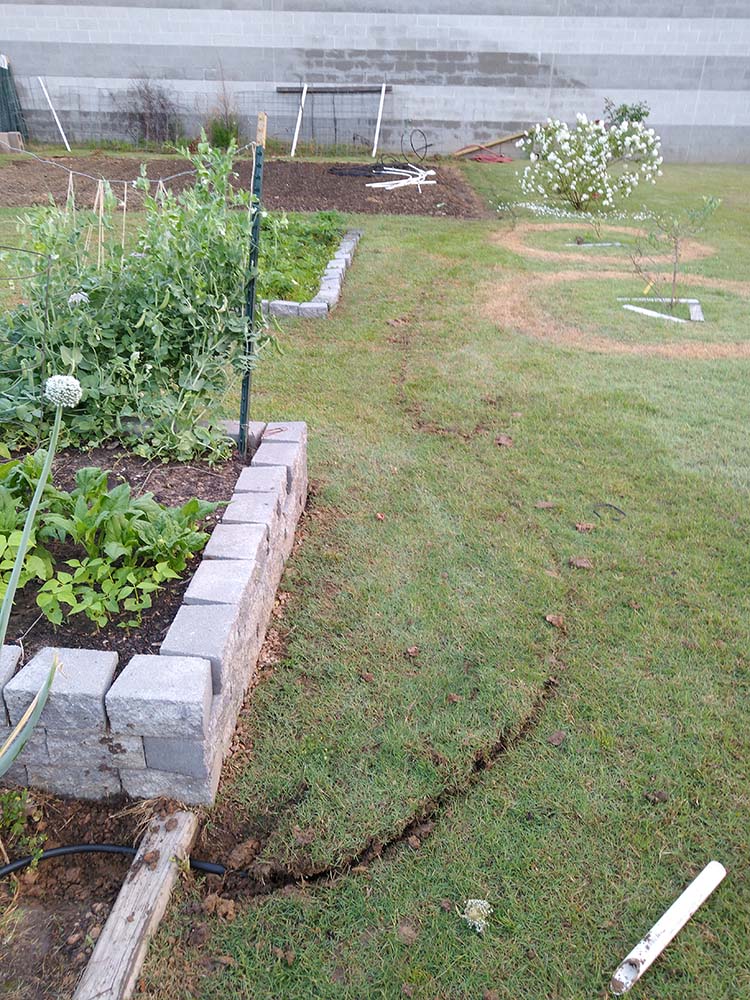
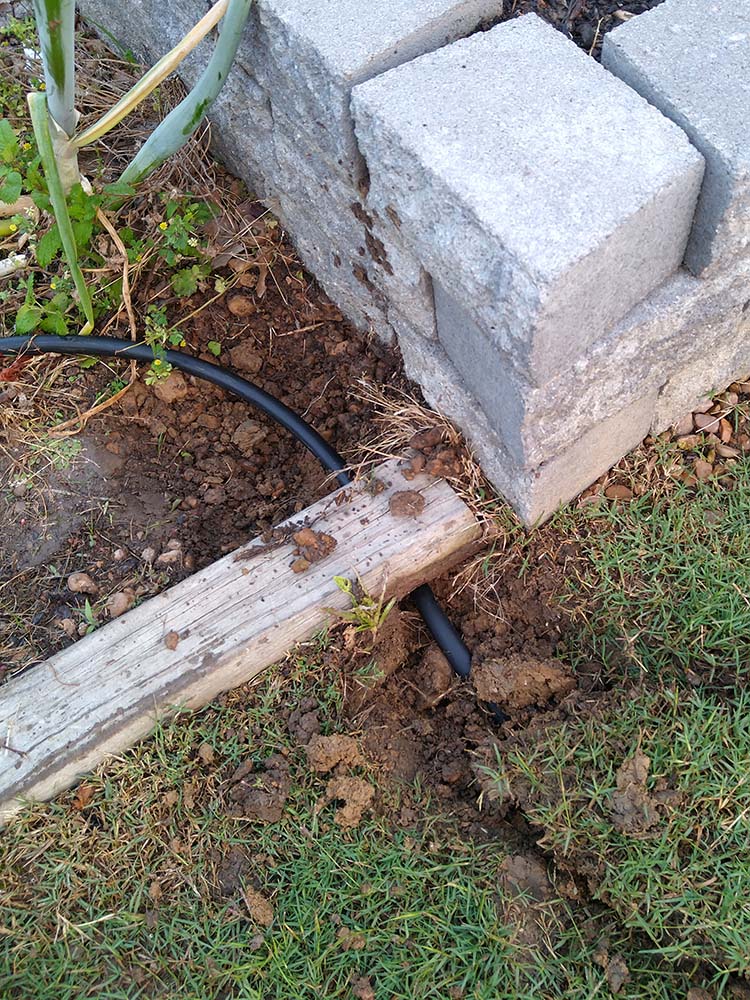
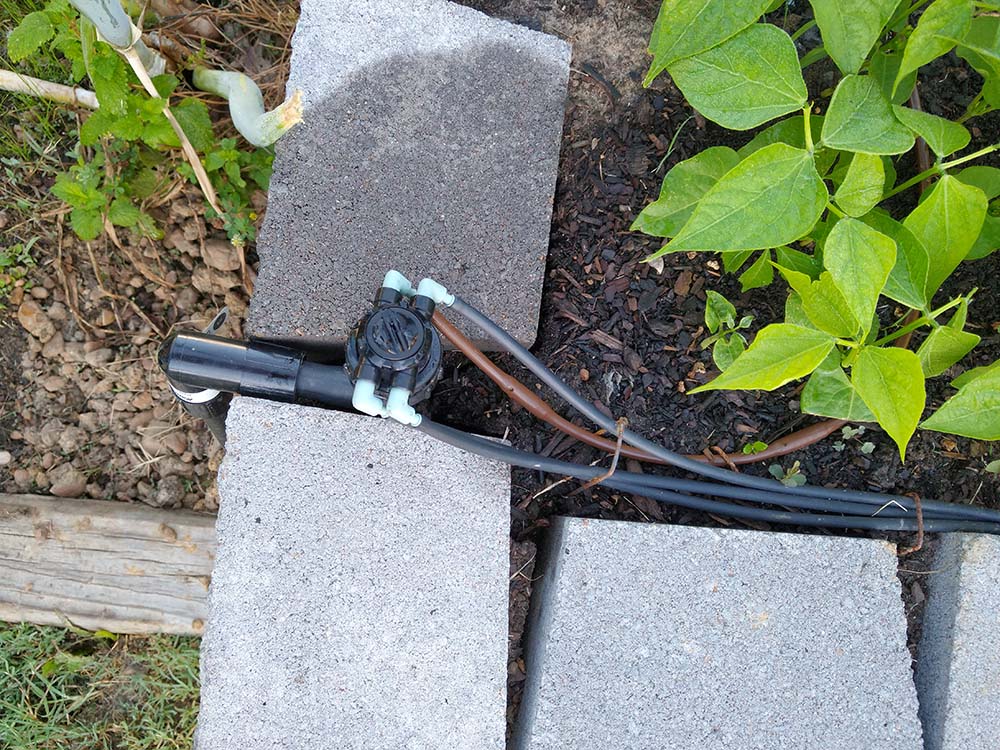
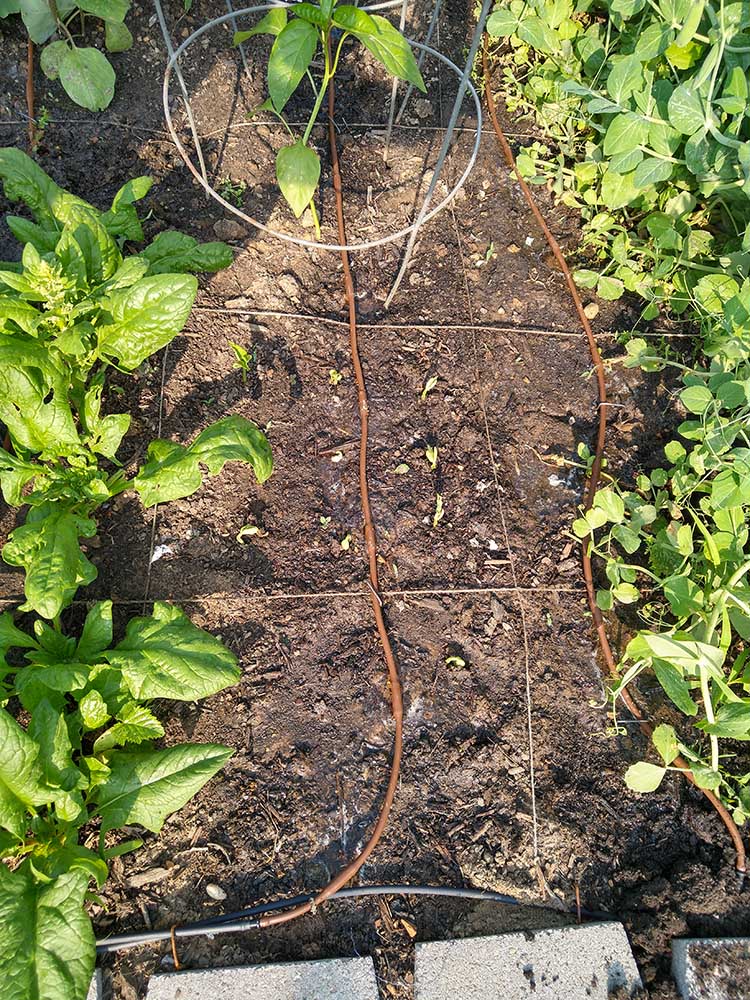
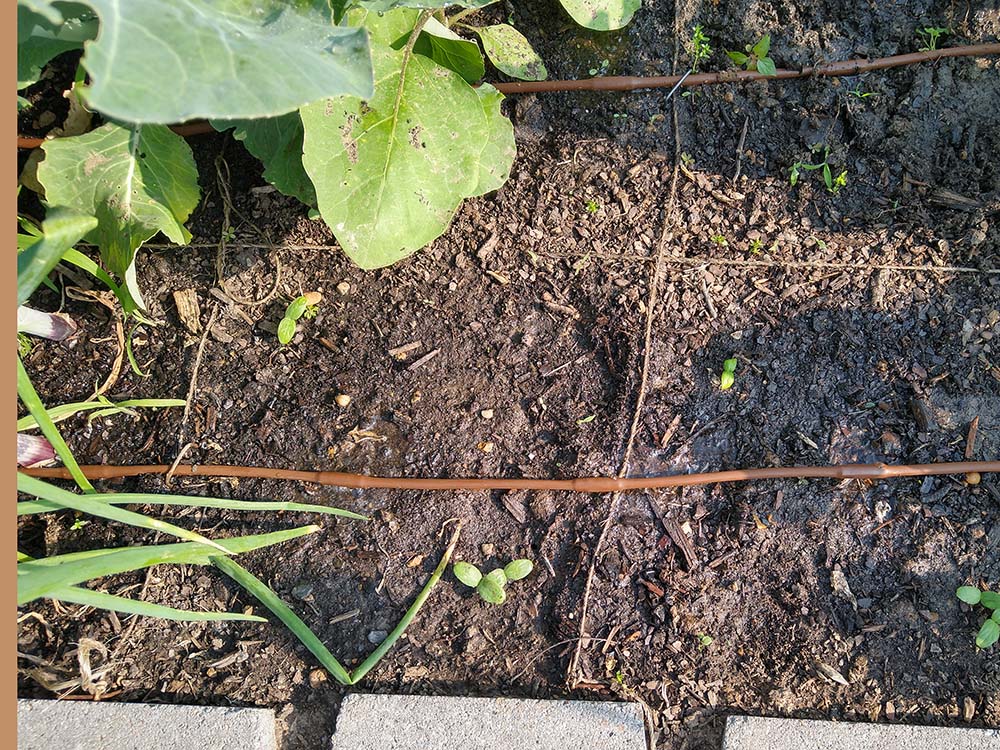
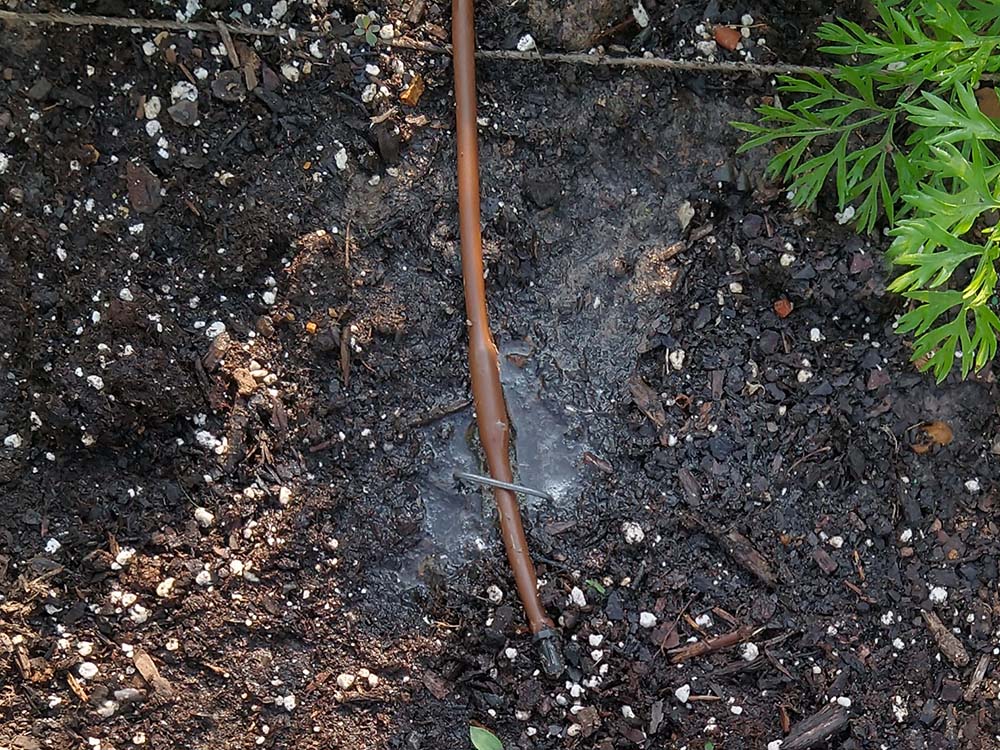
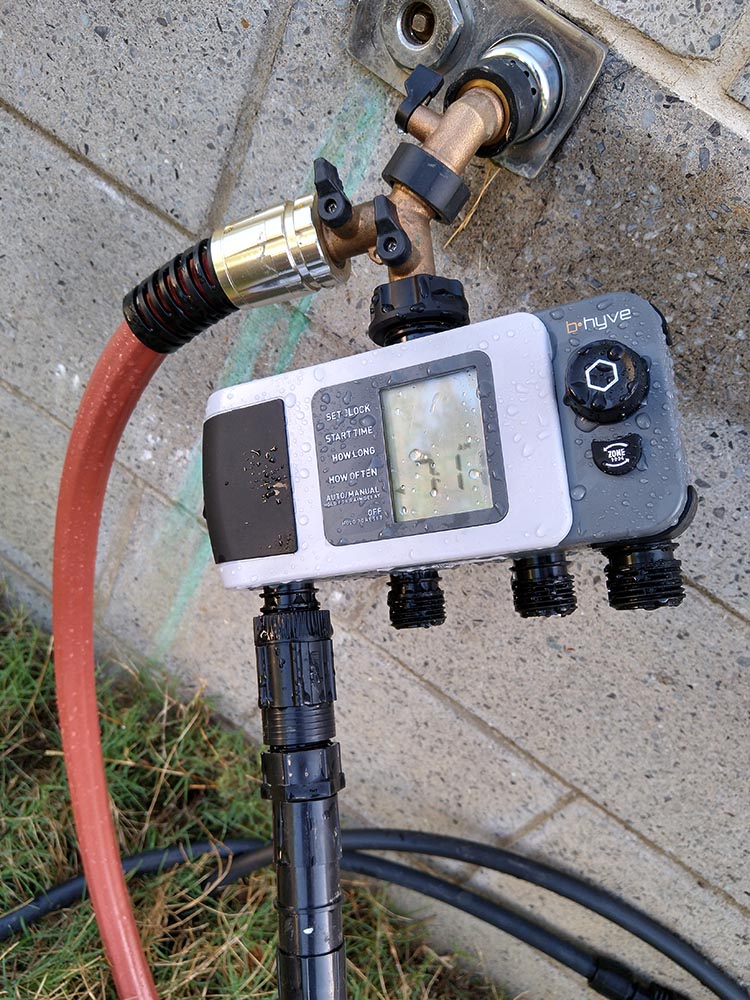
There are many benefits of raised beds: you get to choose the soil you are growing in, you don't have to bend down to tend the garden, and there is good drainage so you don't get any root rot and similar problems. One of the down sides is you have good drainage. With the recent summer heat it gets hard to keep the garden watered with a hose, it drys out too fast. So, I have installed a drip irrigation system on a timer to water it for me. How I Did It The hardest part was getting the water to the garden. It is about 75 feet away from the hose bib. I used 1/2" black irrigation pipe. I used my shovel to cut a long slit in the grass from the hose bib to the garden. Then I went down the line lifting up the grass and pushing the hose into the open space underneath. I had to go around the raised bed so the pipe would come up in the walkway. This will save it from the lawnmowers and weed-eaters of the landscaping crew.
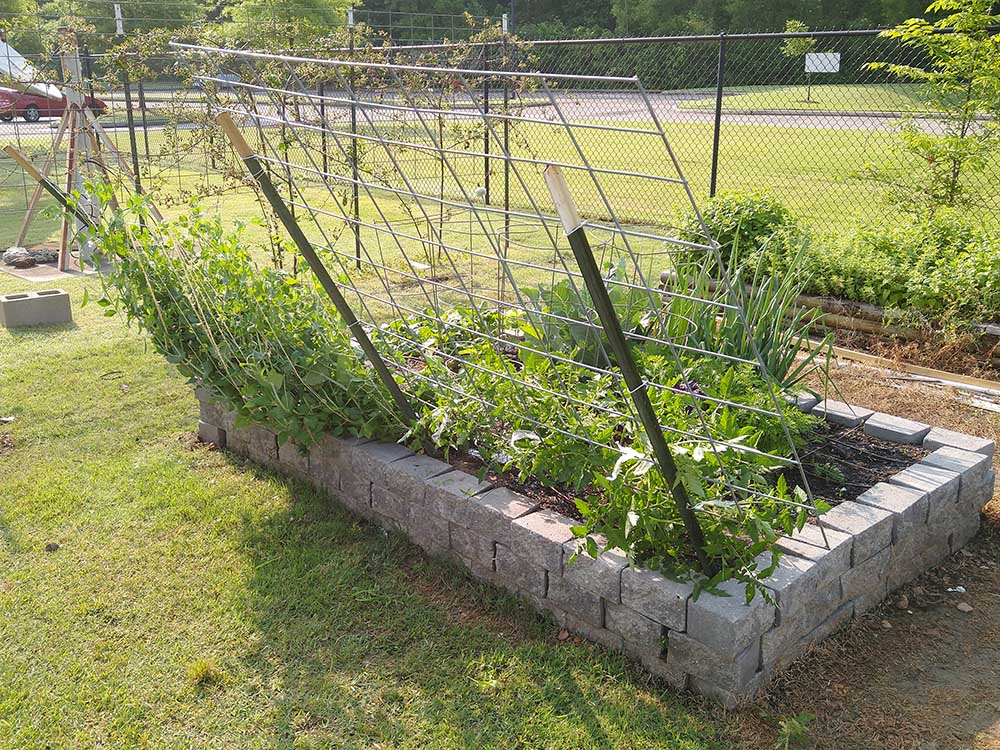
Tomato Trellis
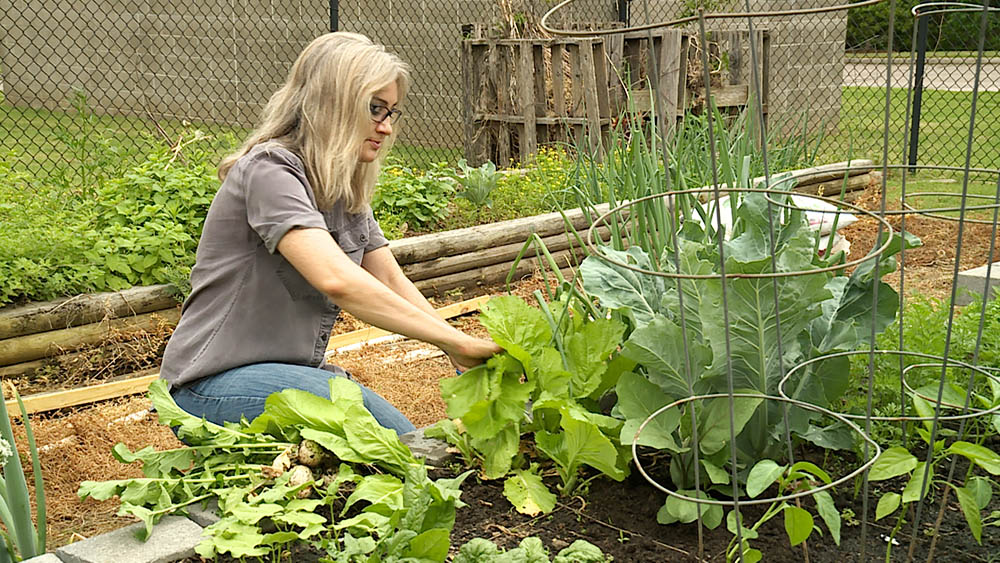
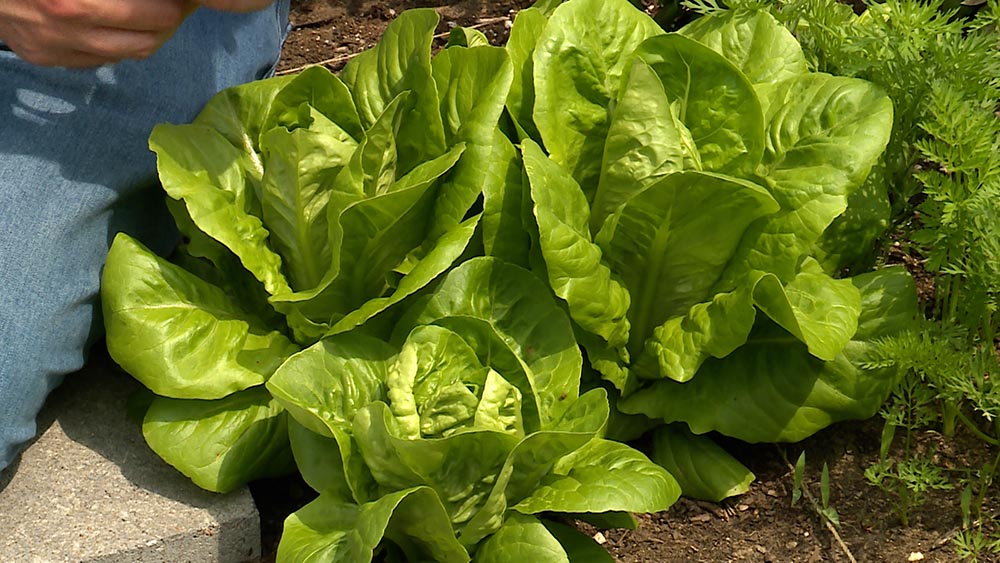
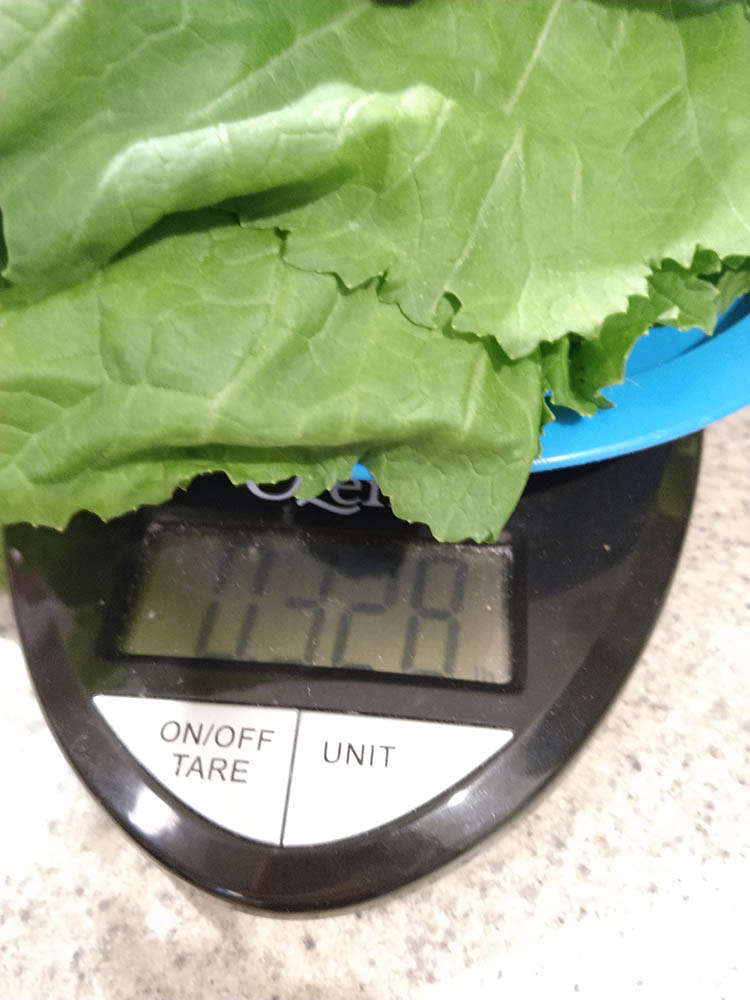
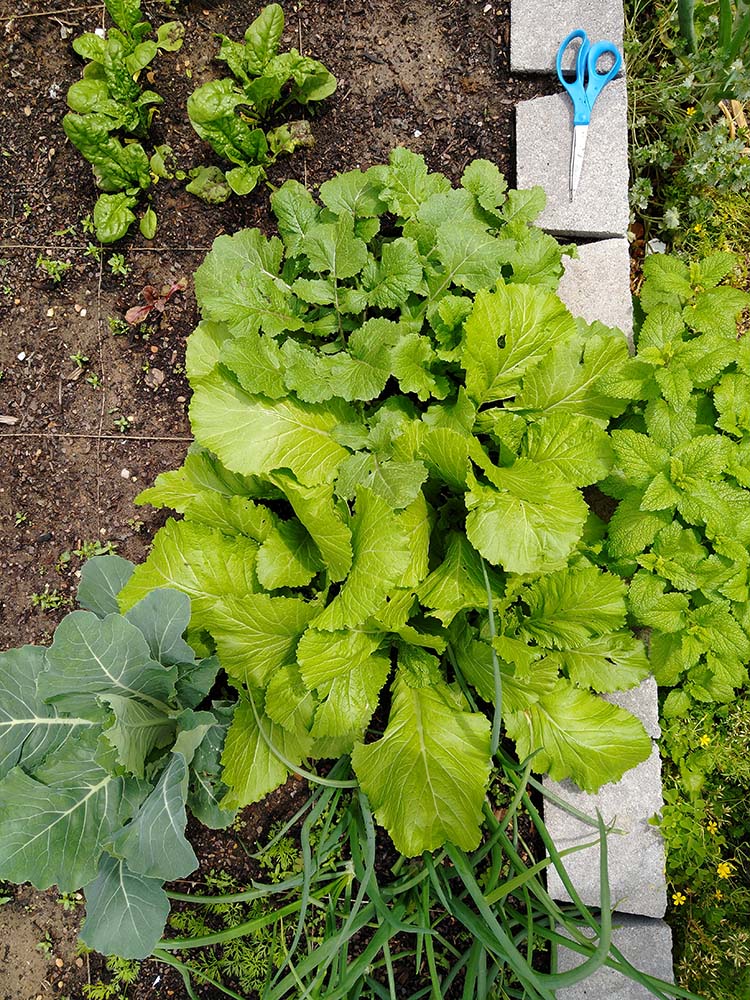
Here in Memphis this week we are going to get into the 90s and that will do in all of our leafy greens. Late last week UT Assistant Professor of Residential and Consumer Horticulture Natalie Bumgarner came in from Knoxville to tape a few Family Plot shows and with her help we harvested the rest of the mustard and turnip greens (including the turnip roots), and lettuce.
Cool Season Leafy Green Totals Here are the total harvest we got from our cool season leafy greens
We also have picked 1.08 lb of peas so far. That should keep going for awhile. We may need to push back the cucumber planting to keep the peas going. Planting
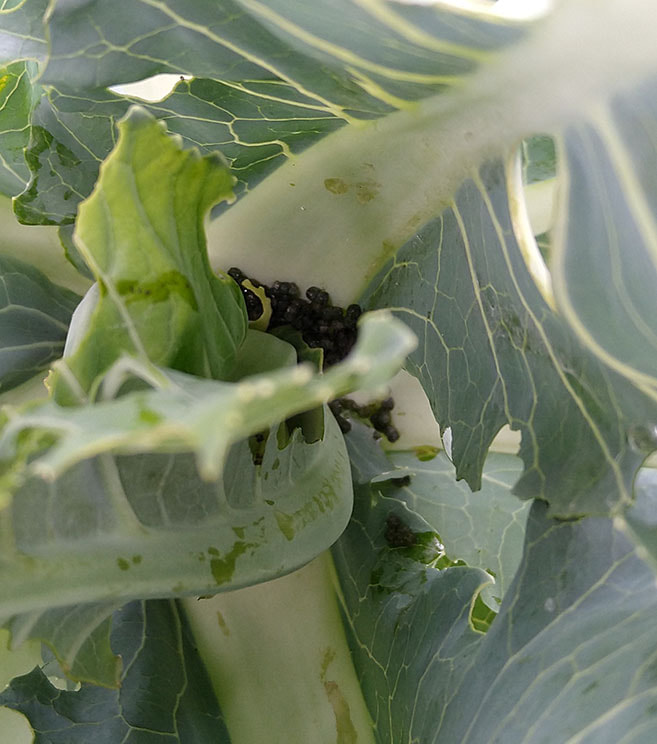
We Have a Worm in the Cauliflower
More Peas
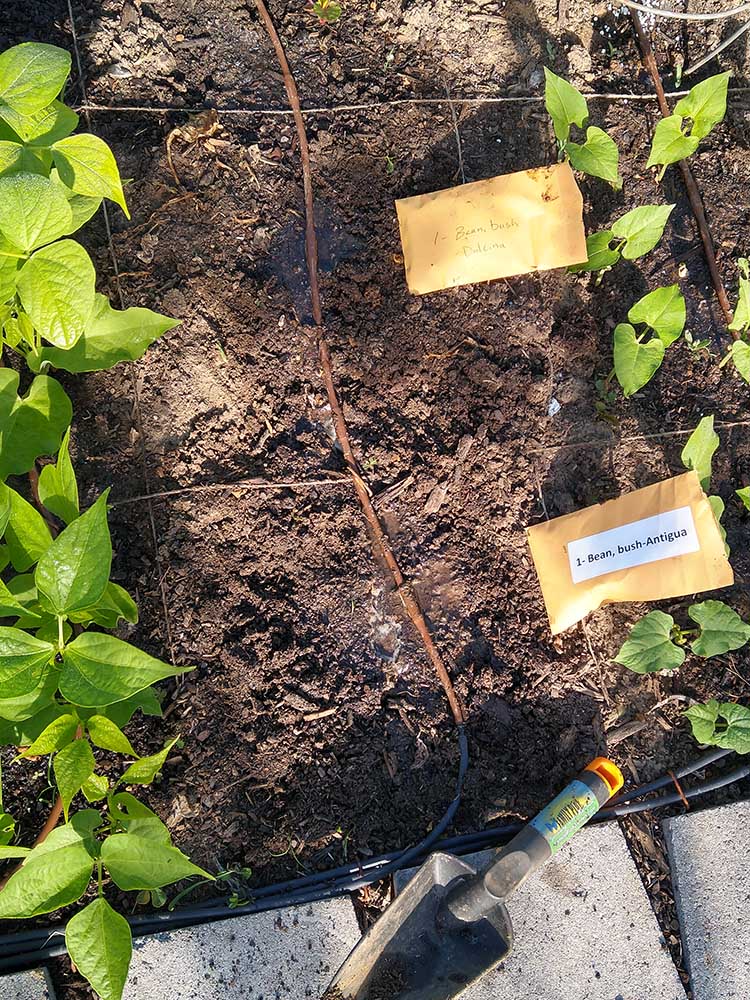
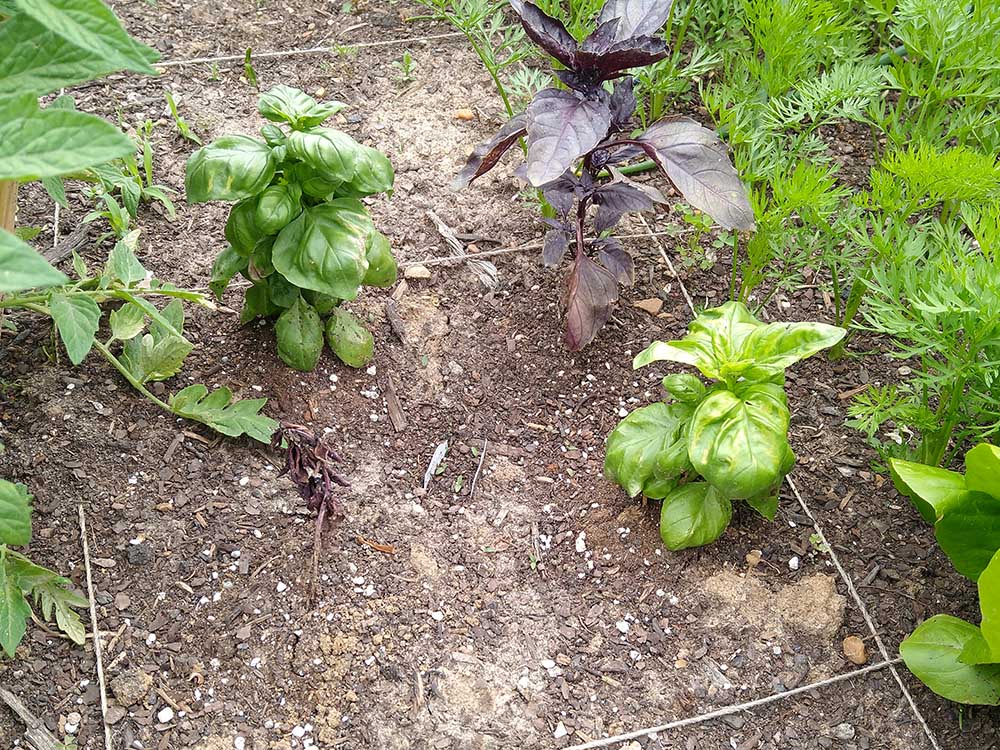
Basil One of the four basil plants we planted died so I replanted. Unfortunately there were no purple basil available so we had to replant in green. Also I noticed some of the basil is looking like it might have some nutrient deficiency going on, probably with nitrogen, so I side dressed the basil with a little nitrogen and also side dressed the tomatoes, lettuce and onions. I did not side dress the onions heavily like I did last time because the cauliflower is so close. With too much nitrogen the cauliflower will never head.
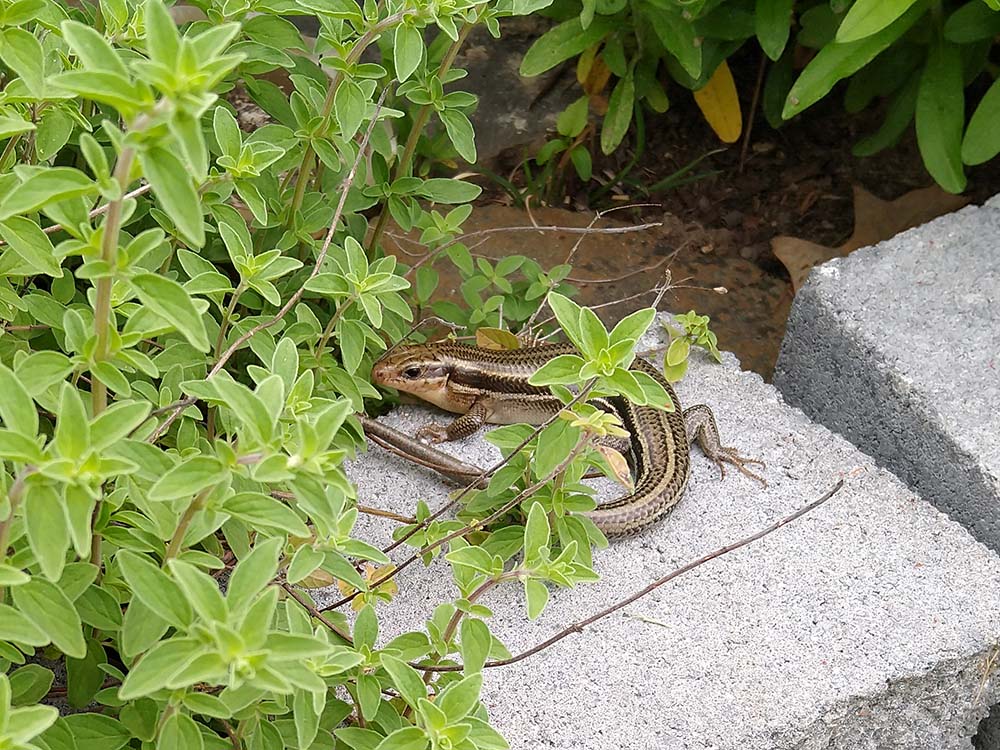
Now for the Skink While I was working the the square foot garden I noticed a skink over in the pollinator garden. I don't like snakes so when ever I first see a skink I am very cautious, until I see the legs. Like I said, when I saw it I went to find the cabbage worm to feed it, but the worm was hiding. Smart worm.
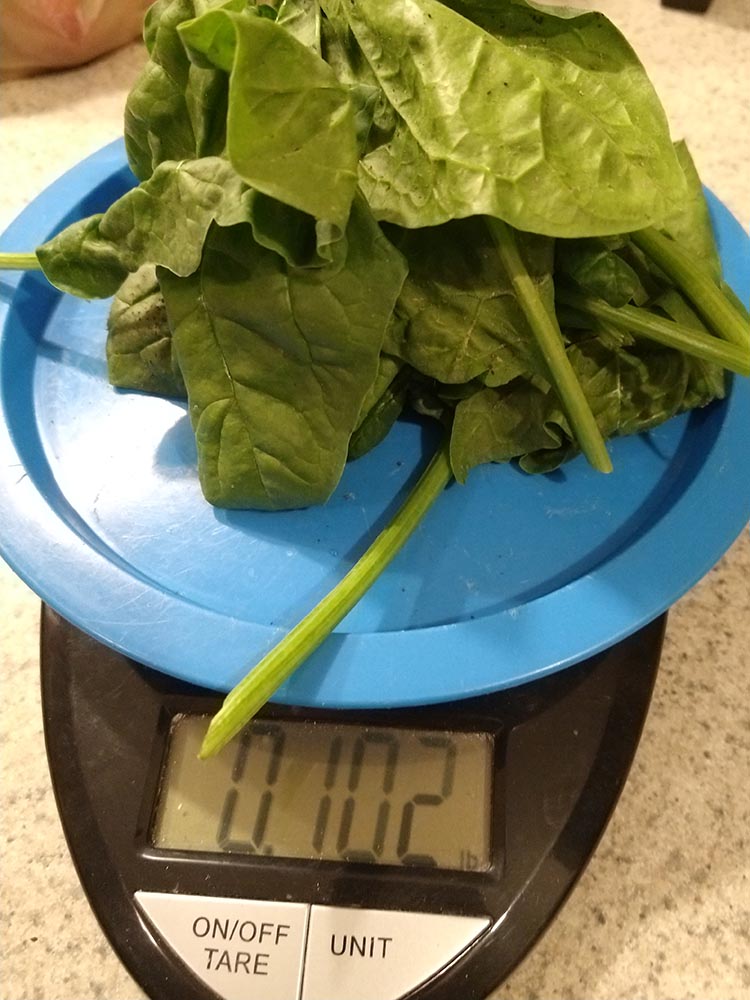
More Harvesting So the big harvest news (though pretty small based on what we picked) was three peas. There are more getting ready soon. That was a measly 1/20 pound, but they were yummy. I love to pick and eat peas off the vine, but I had to weigh them first in the name of science. We also picked an additional 1/10lb of spinach and a third of a pound of mustard greens.
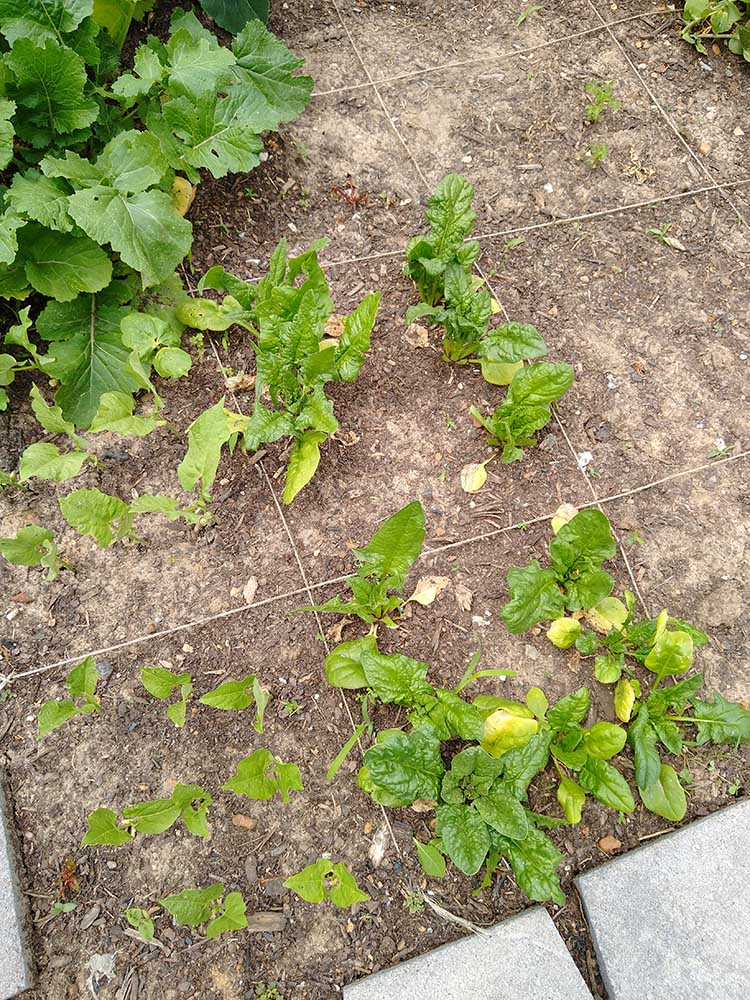
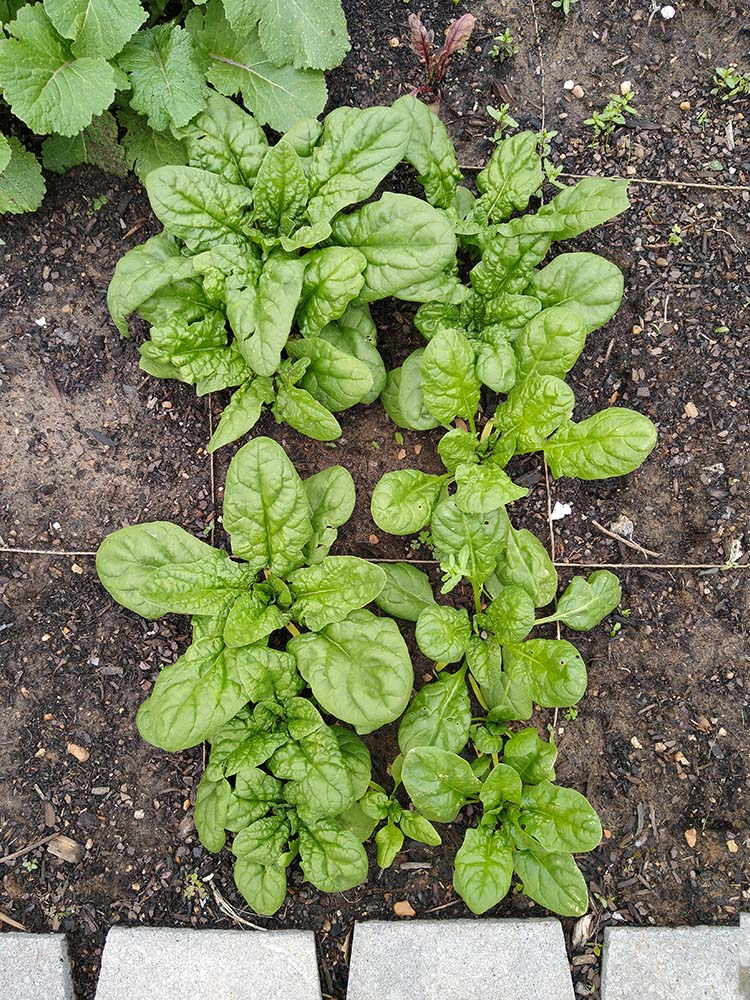
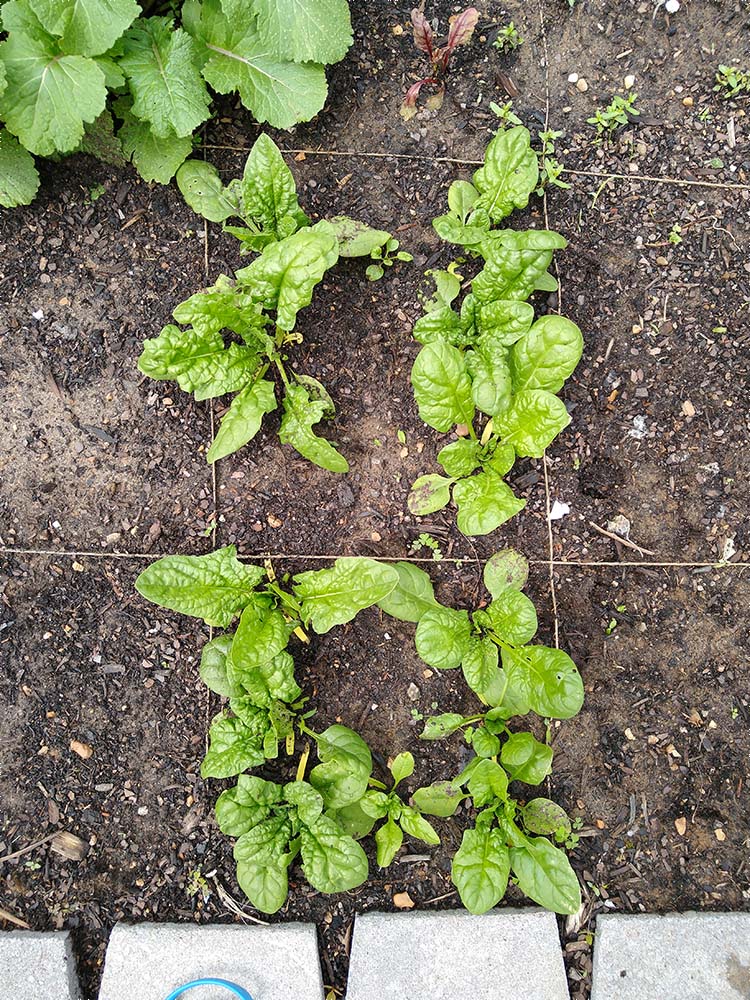
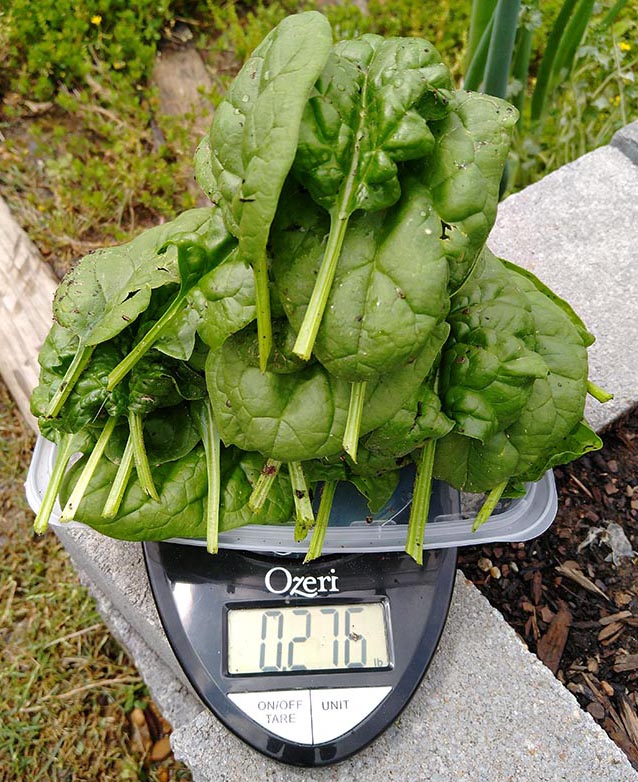
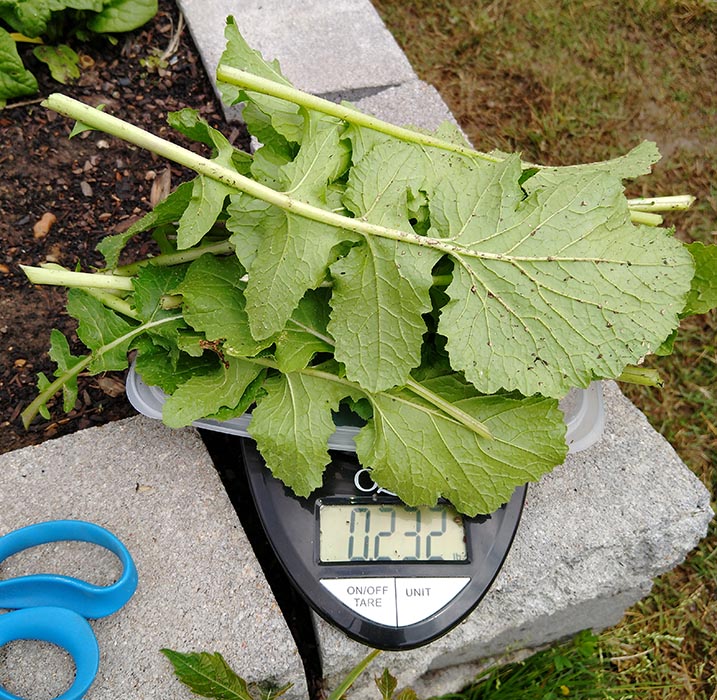
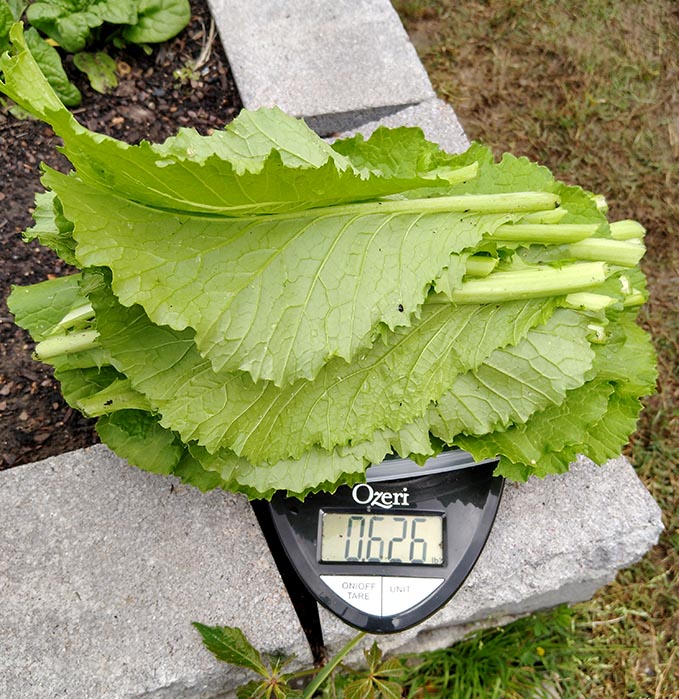
We have more good leafy greens to eat. We have made the first harvest on the spinach, mustard greens, and turnip greens. They were all needing a hair cut. To pick these we cut off the largest leaves, leaving the smaller leaves to grow more for a future harvest. Here is the results of each plant: Spinach 1/4 Pound
Turnip (1/4 lb) and Mustard (5/8 lb) Greens
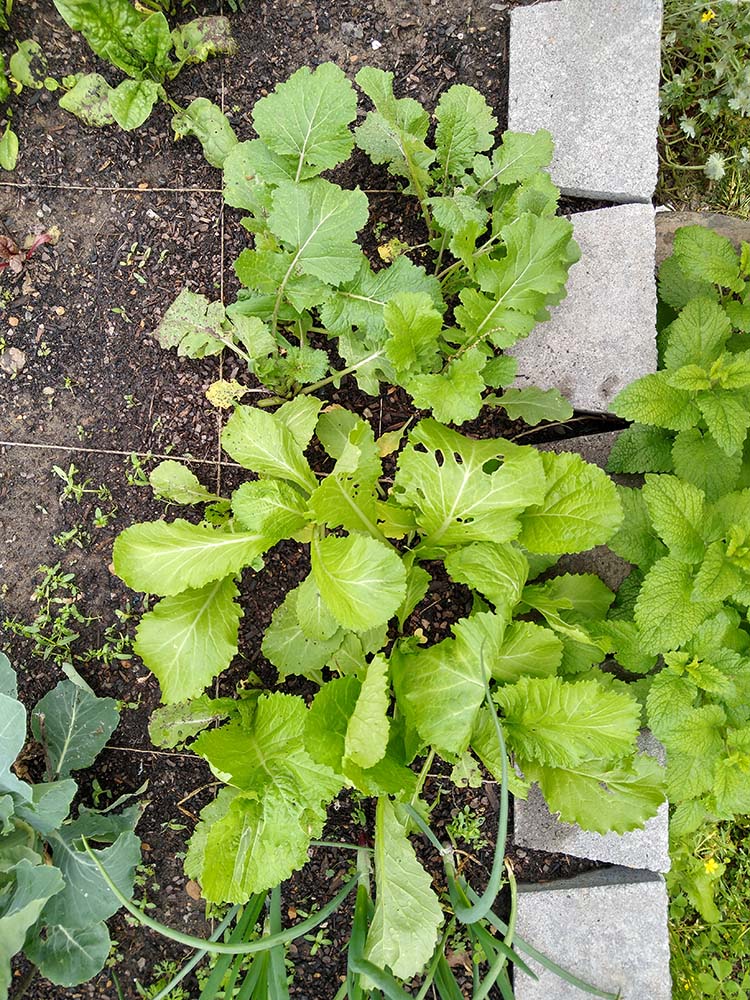
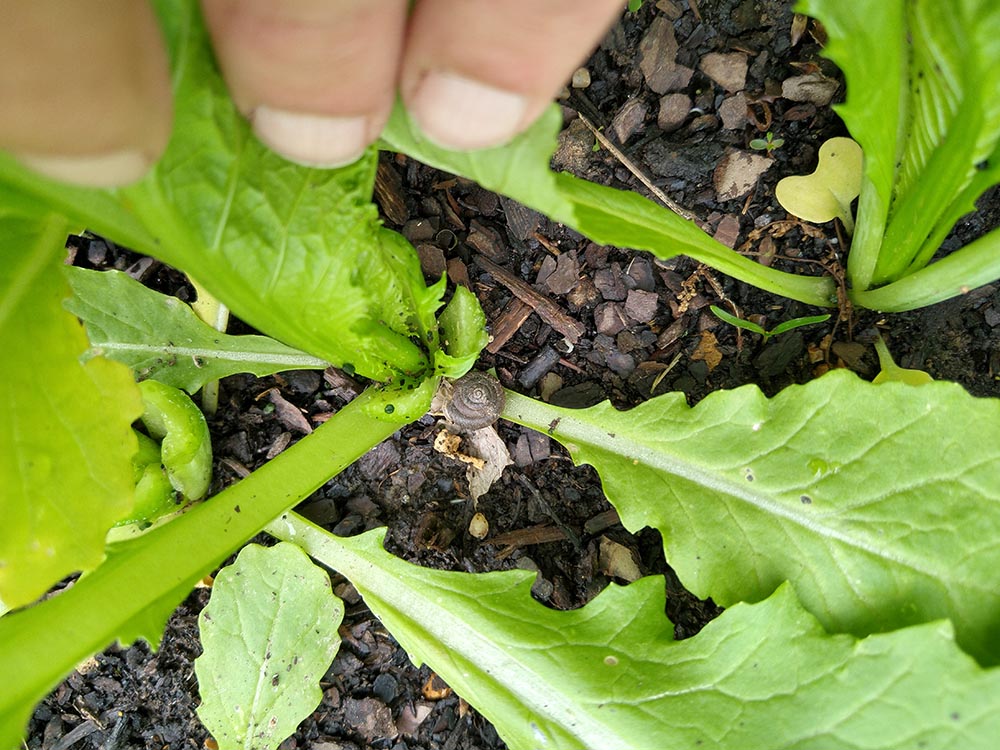
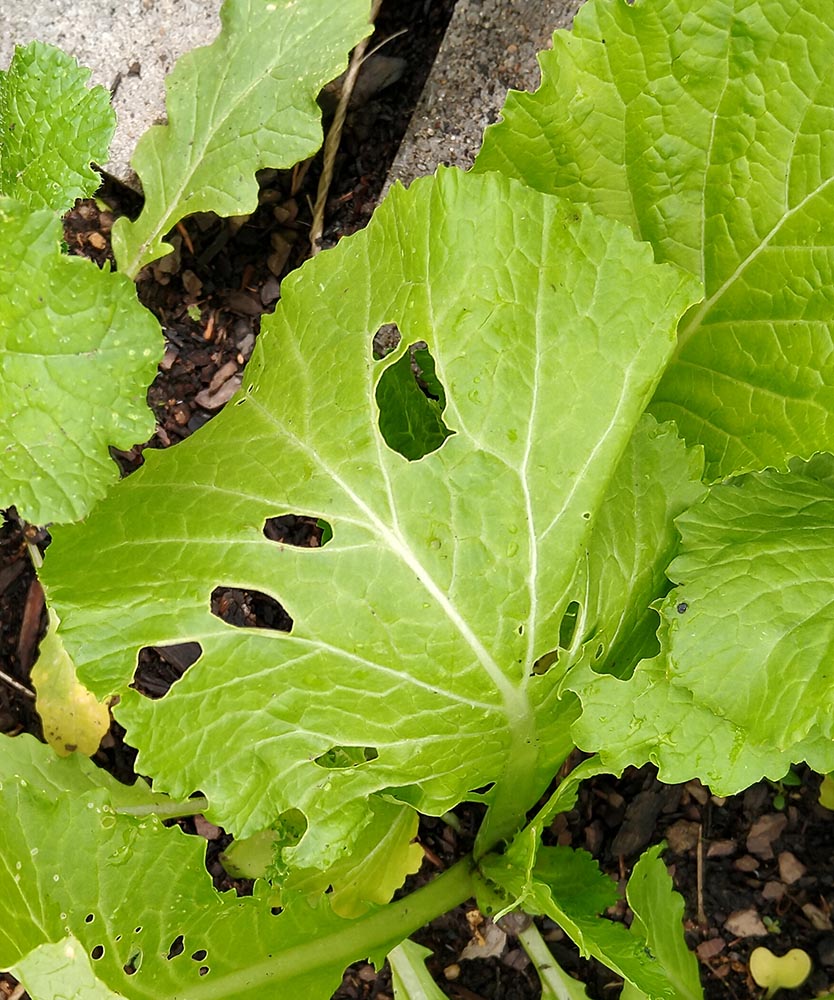
Something is Eating the Mustard Greens
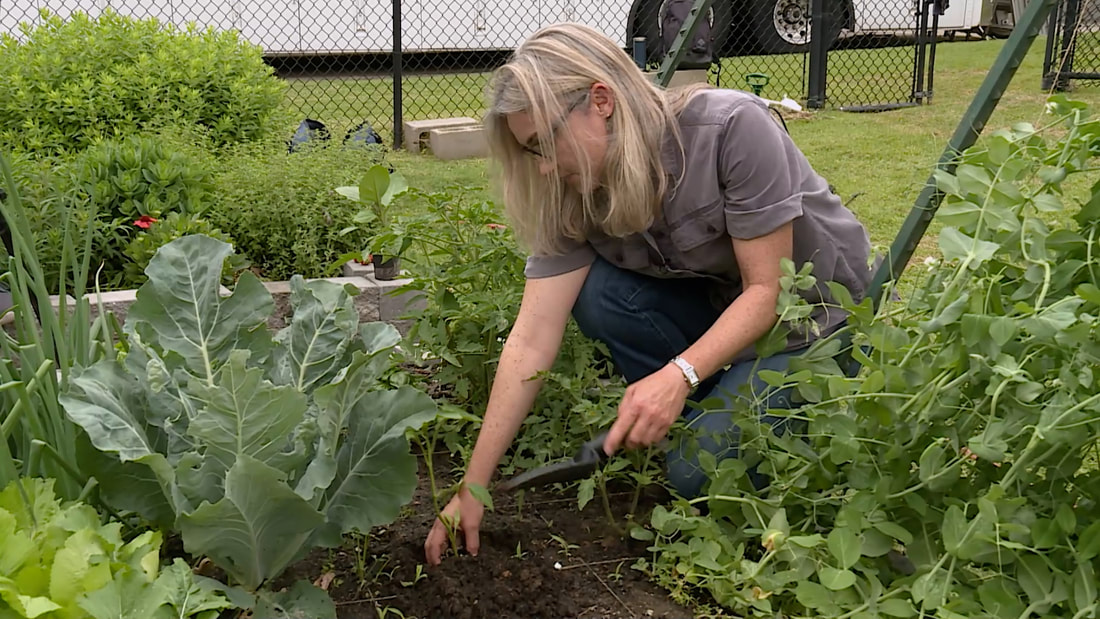
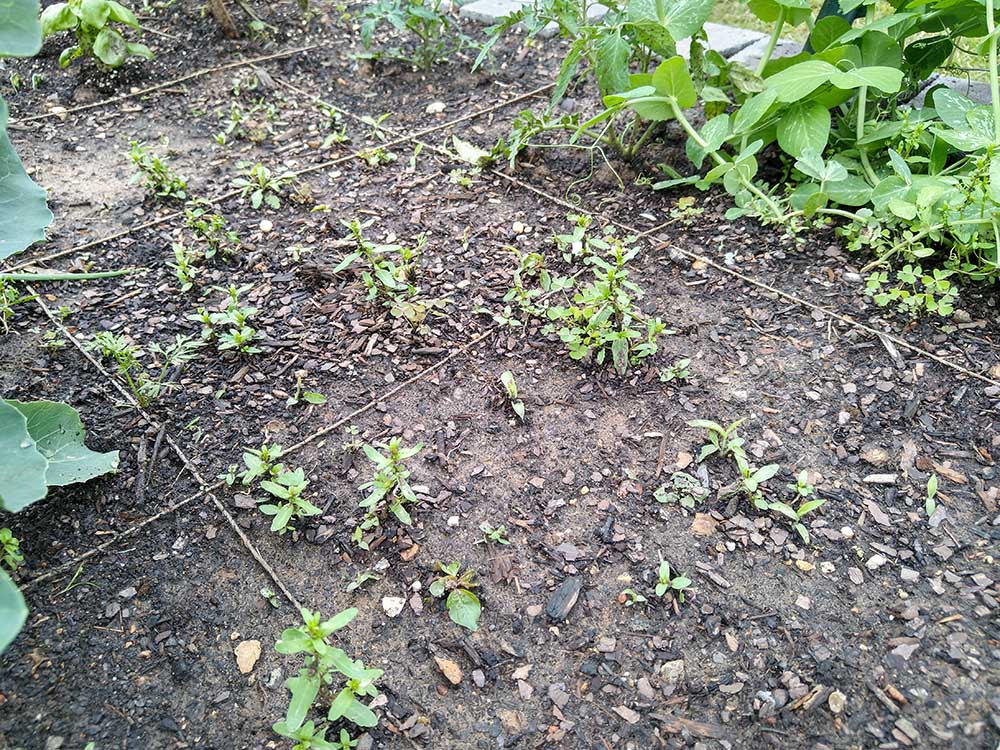
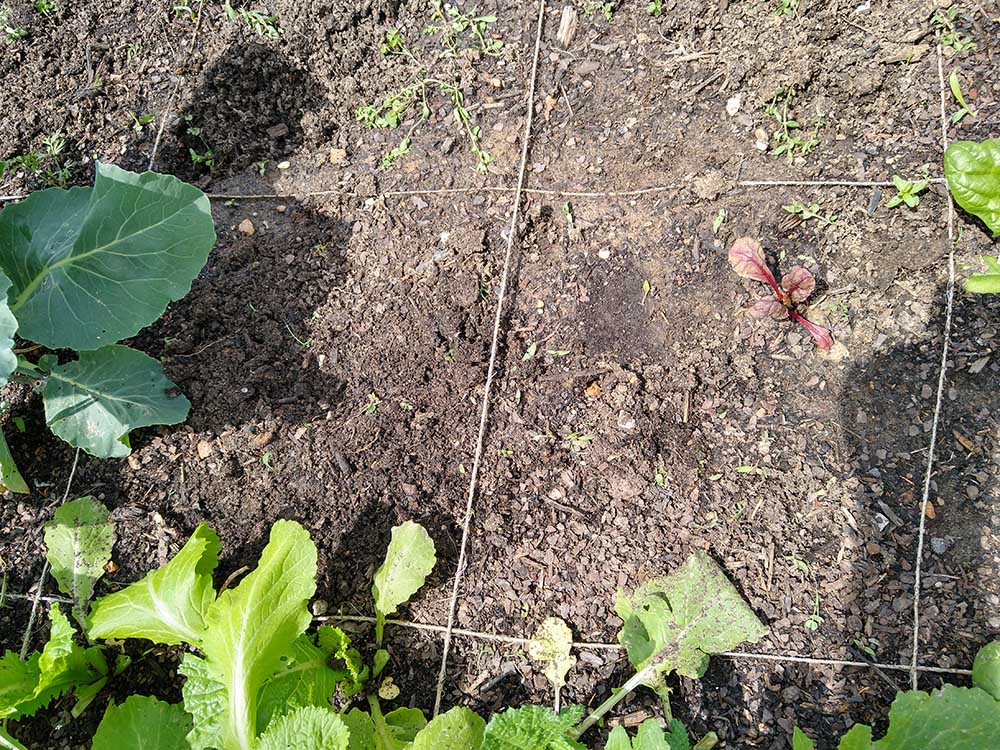
Weeding It is getting warm and weeds are growing great too. A great benefit of a small raised bed is that you can easily pull them without having to bend all the way over to the ground. Between hand pulling and a little work with a hoe these weeds are no more.
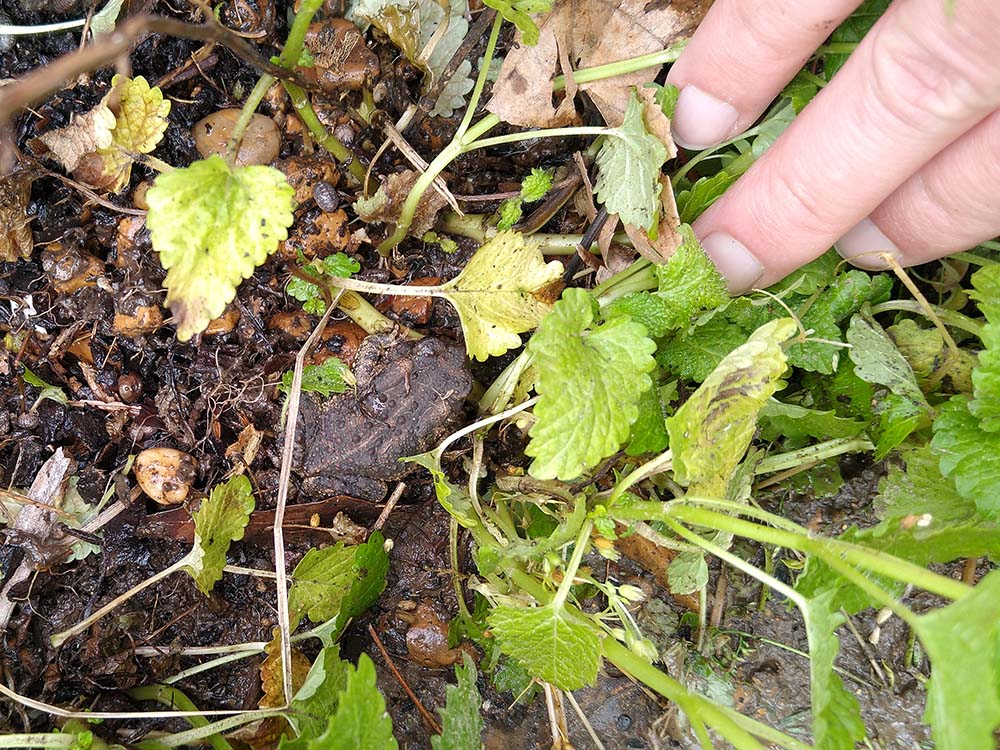
A Garden Visitor While we were pulling some lemon balm that was growing by the greens in the walkway around the bed we found a toad. Maybe he can take care of the mustard green problem... or maybe he already has.
|
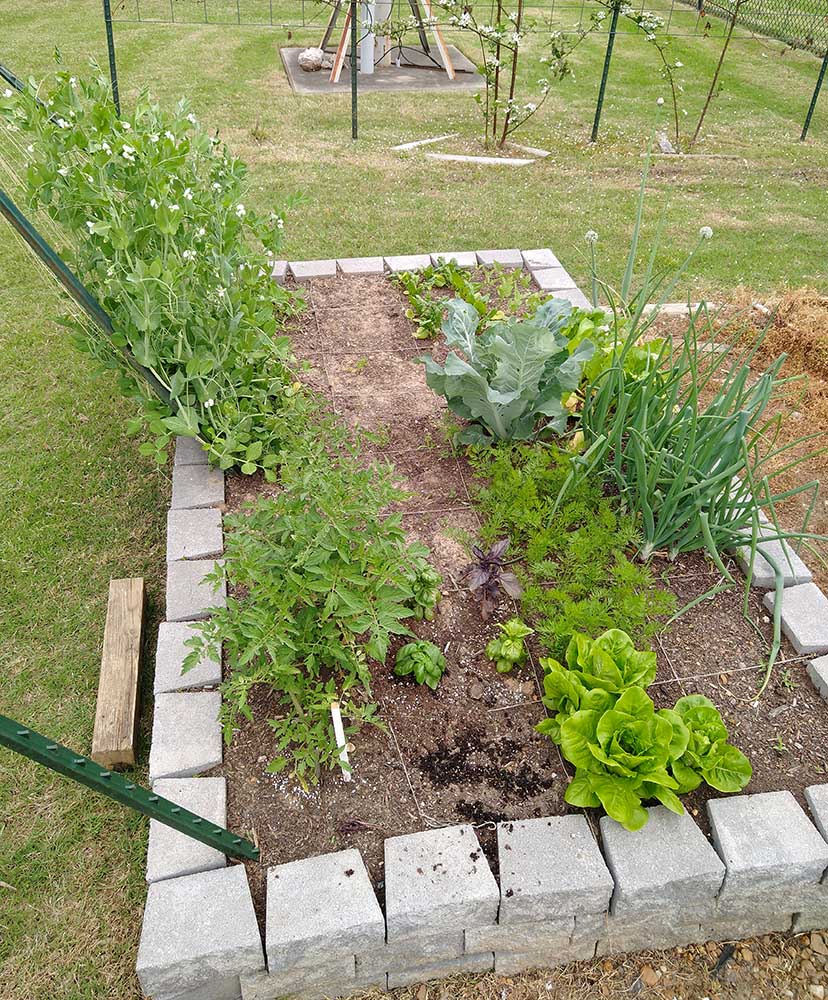
Square Foot GardenThis year we are trying out square foot gardening. We will be growing a 4x8 garden and seeing what happens and finding out how much we can grow in such a small space. Categories
All
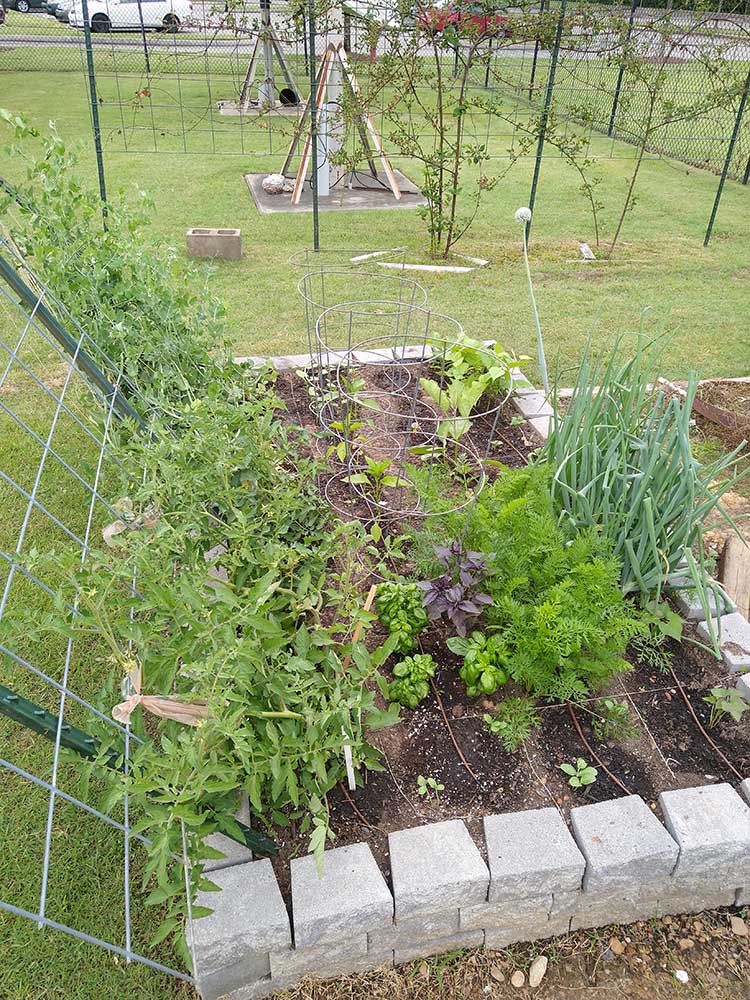
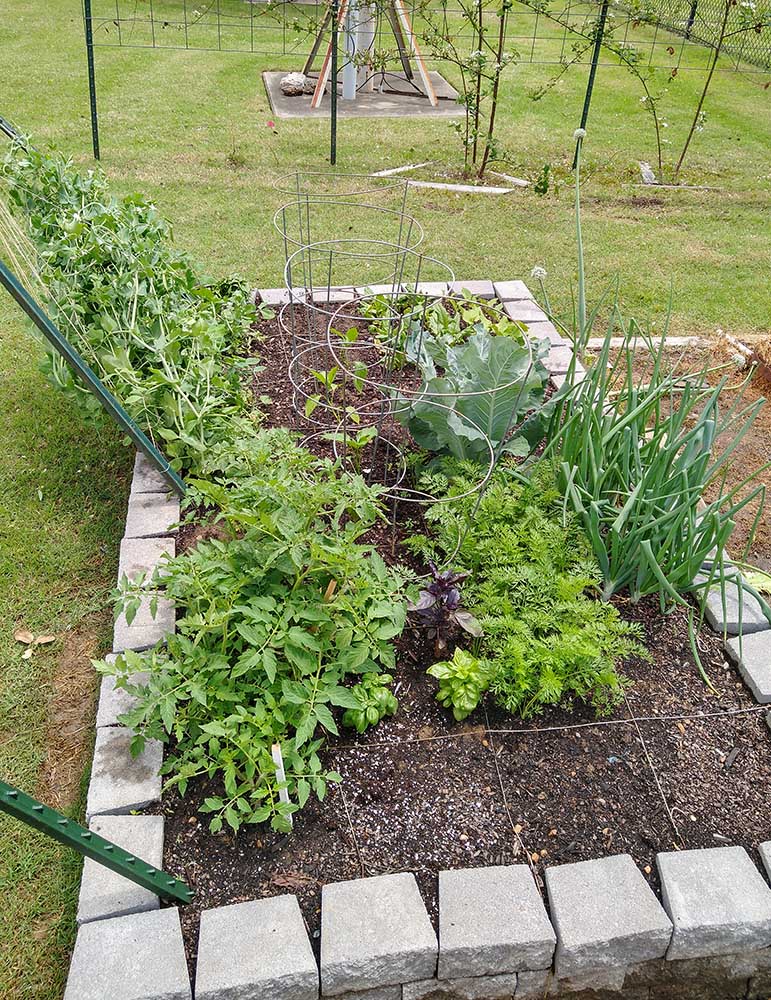
Garden Status
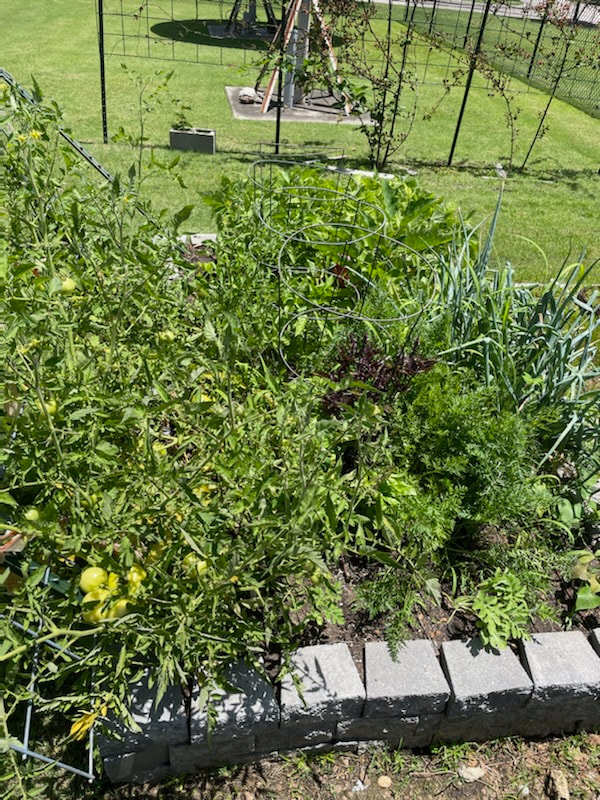
Here is what is growing right now in the Garden: (click the picture to zoom) Master Plan
We hope to follow this plan to be able to maximize our harvest. (click to zoom) Our Harvest So Far
5.50 lb Radishes (32 plants) 1.09 lb Spinach 0.70 lb Turnip Greens 0.58 lb Turnip Roots 1.71 lb Mustard Greens 3.71 lb Peas 1.12 lb Green Lettuce 0.83 lb Cauliflower (1 head) 3.74 lb Basil 3.96 lb Carrots (46) 0.11 lb Green Beans (bust) 24.17 lb Tomatoes (225) 4.77 lb Onions (16) 0.53 lb Summer Squash (2) 8.69 lb Eggplant (25) 9.40 lb Cantaloupe (4) 9.90 lb Watermelon (3) 21.19lb Cucumbers (34) 3.17 lb Peppers (19) 0.58 lb Oak Leaf Lettuce 1.20 lb Romaine Lettuce 8.45 lb Sweet Potato (6) |


 RSS Feed
WebsiteCopyright 2024 Family Plot Garden
Content Copyright 2015-2024 Family Plot Garden & Mid-South Public Communications Foundation
Content Copyright 2015-2024 Family Plot Garden & Mid-South Public Communications Foundation